Reka Bread Recipe: A Heartwarming Taste of Tradition 🍞🇷🇺❤️
1. Introduction
The aroma of freshly baked bread… is there anything quite like it? It’s a universal comfort, a scent that evokes feelings of home and warmth. Today, we’re diving into a unique and utterly delightful recipe: Reka bread. This traditional bread, often enjoyed in Eastern European households, boasts a slightly sweet and subtly tangy flavor profile that sets it apart. Whether you’re an experienced baker confidently wielding your rolling pin or a complete novice tentatively stepping into the kitchen, this reka bread recipe is surprisingly easy to follow. Don’t be intimidated! The process of making homemade reka bread is not only incredibly rewarding, leading to a sense of accomplishment, but also fills your home with a warm, inviting scent that will make everyone feel cozy. Before you know it, you’ll be searching for more exciting baking recipes in the baking category. So, let’s embark on this baking adventure together and create a loaf of delicious Reka bread that you and your loved ones will cherish. This recipe is perfect for gathering and sharing, much like a collection of recipes shared on platforms like this thread.
2. What is Reka Bread?
Reka bread, sometimes specifically referred to as Russian reka bread to highlight its origins, is a type of yeast bread celebrated and known for its exceptionally soft texture and a distinctive, slightly sweet flavor. It’s often enjoyed as a breakfast staple, providing a comforting start to the day, or as a versatile side dish complementing a variety of meals. While variations exist depending on family traditions and regional preferences, most authentic reka bread recipes incorporate a foundation of simple, readily available ingredients like flour, water, yeast, and just a touch of sweetness to enhance its overall taste. Some recipes might even include delightful additions like plump raisins or other dried fruits, offering a burst of flavor and texture in every bite, making each homemade loaf a truly unique culinary experience. Maybe a little honey? Have you seen our honey roasted carrots recipe? And the beauty of homemade reka bread truly lies in its inherent versatility and the personal touch you can effortlessly add to it, transforming a simple recipe into a cherished family favorite.
3. Key Ingredients for Reka Bread
To bake a truly perfect loaf of Reka bread that will impress everyone, you’ll need to gather a few essential ingredients. These building blocks are crucial to achieving the right texture and flavor:
All-purpose flour: This is the very foundation of our reka bread recipe. It provides the structure and substance of the bread.
Active dry yeast: This is what gives the bread its wonderful light and airy texture. The yeast ferments, creating bubbles of gas that make the dough rise.
Warm water: Warm water is crucial because it activates the yeast. Think of it as waking the yeast up and getting it ready to work its magic! It also binds the dry ingredients together.
Sugar: A touch of sugar isn’t just for sweetness; it also helps activate the yeast, giving it a little “food” to get started.
Salt: Salt is essential for enhancing the flavors of all the other ingredients. It balances the sweetness and brings out the subtle nuances of the flour and yeast.
Oil: Adds moisture and richness to the dough.
These seemingly simple ingredients work together in perfect harmony to create the magic of Reka bread. Don’t underestimate the impact of each component! The quality of each ingredient subtly contributes to the final taste and overall texture of the finished bread.
4. Step-by-Step Reka Bread Recipe
Here’s a detailed and easy-to-follow reka bread recipe designed to expertly guide you through the entire baking process. Consider browsing our breakfast recipes for more ideas!
1. Prepare the Yeast Mixture
Begin by grabbing a small bowl. Combine warm water (it should be around 110°F or 43°C – not too hot, not too cold!) with the sugar and active dry yeast. Gently stir the mixture and then let it sit undisturbed for about 5-10 minutes, or until you see the mixture become foamy on top. This step is absolutely crucial because it ensures that the yeast is active and ready to effectively leaven the bread dough. If it doesn’t foam, your yeast might be old and you’ll need to start over with fresh yeast.
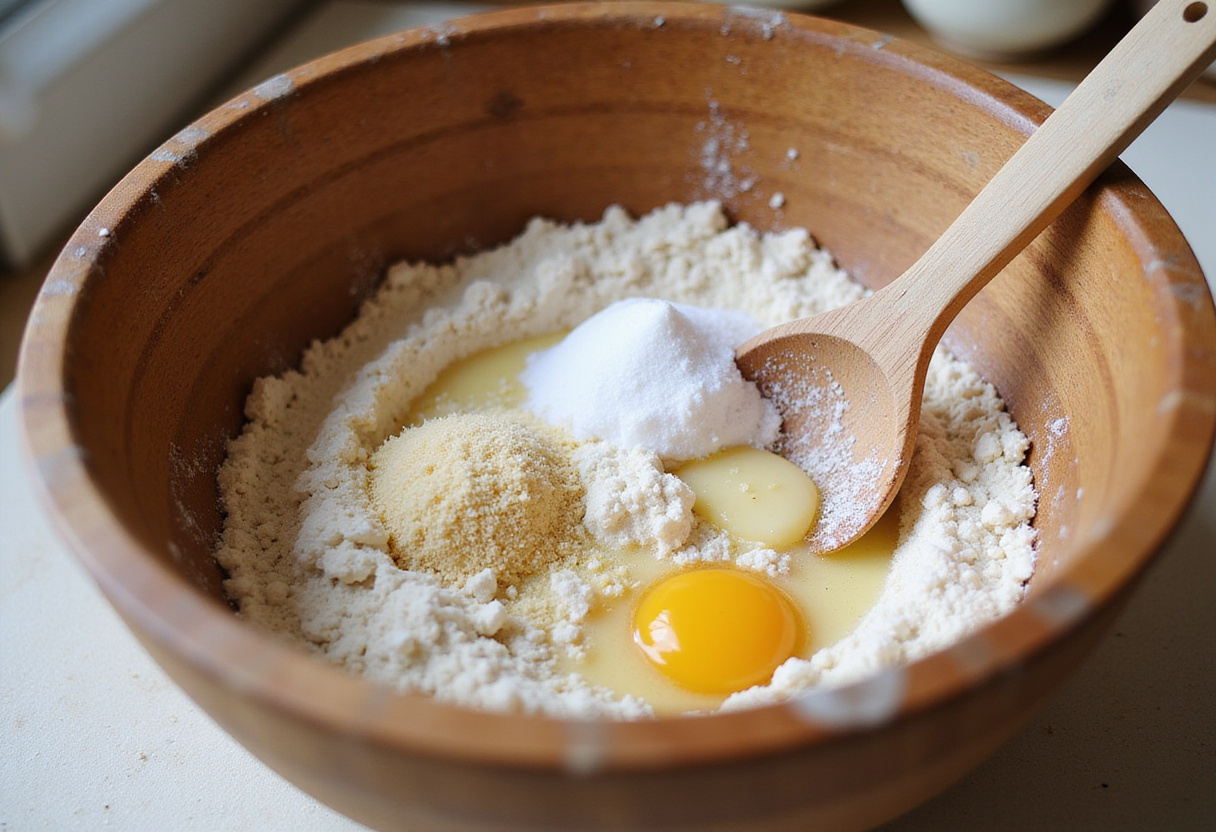
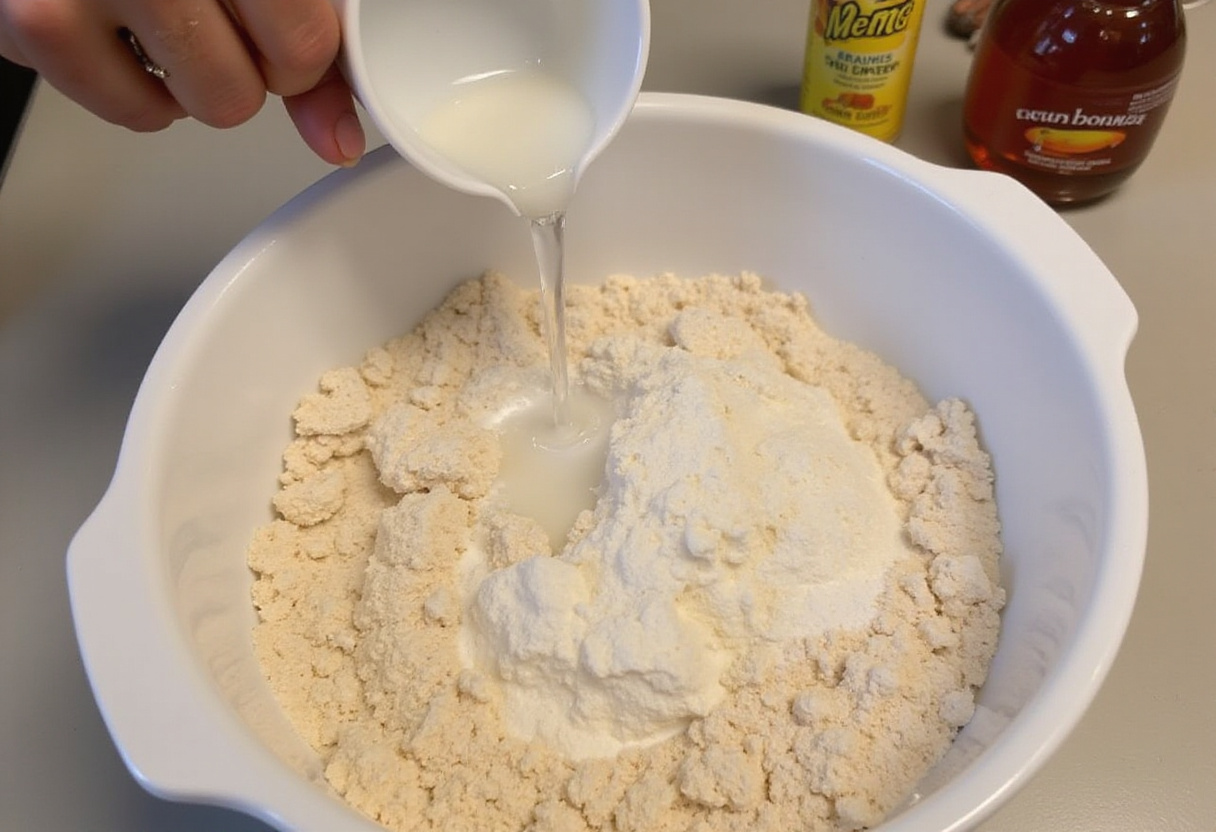
2. Combine Wet and Dry Ingredients
Now, take a large mixing bowl and add the flour and salt. Gently whisk them together to ensure the salt is evenly distributed. Create a well (a small indentation) in the center of the dry ingredients. Pour the yeast mixture (which should now be foamy) and the oil into the well. Gradually mix the wet and dry ingredients together using a spoon or your hands until a shaggy dough starts to form. This is the exciting beginning of your homemade reka bread!
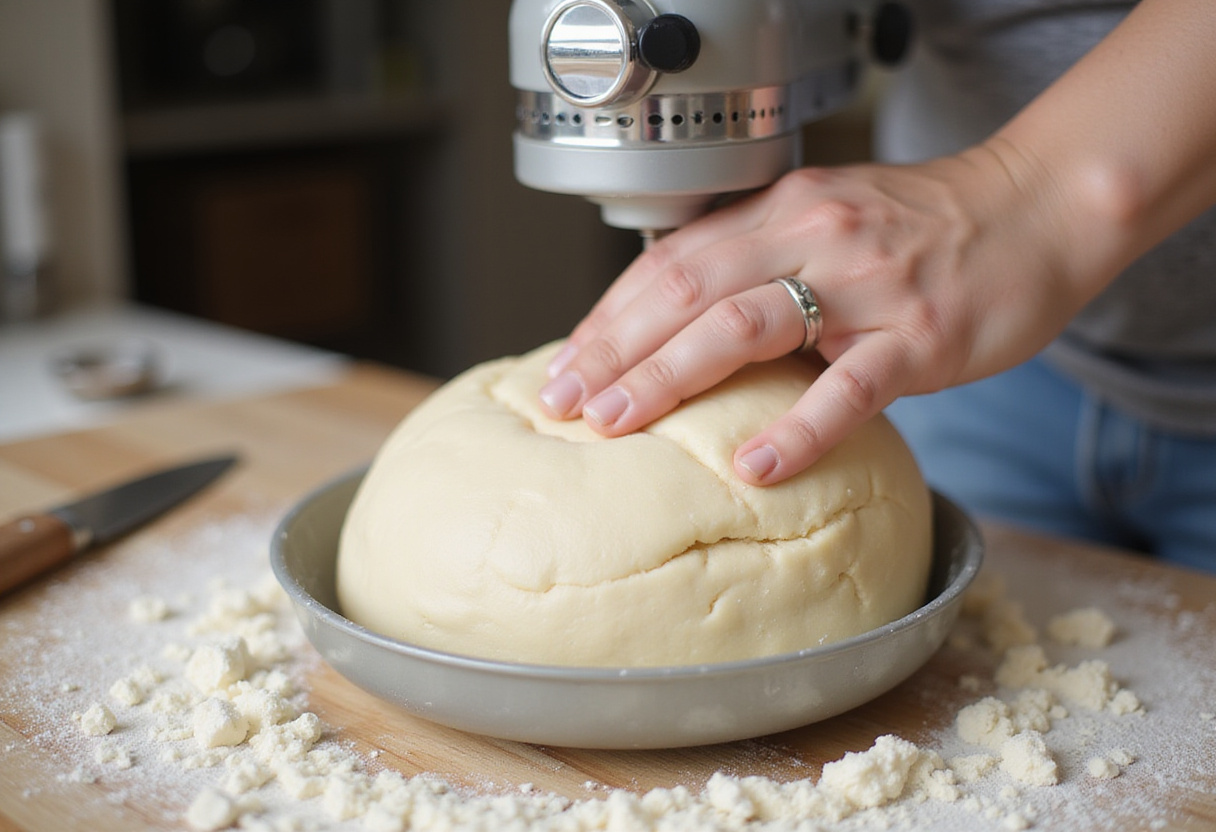
3. Knead the Dough
Turn the dough out onto a lightly floured surface to prevent sticking. Alternatively, if you have a stand mixer, you can use it fitted with a dough hook attachment. Knead the dough for about 8-10 minutes until it transforms into a smooth and elastic ball. It should feel pliable and spring back slightly when you poke it. If the dough is too sticky and difficult to manage, gradually add a little more flour, one tablespoon at a time, until it reaches the right consistency. Proper kneading is absolutely essential for developing the gluten in the flour, which ultimately contributes to the wonderful texture of your Reka bread. If you don’t have time to knead bread, check out: easy no bake cheesy bread.
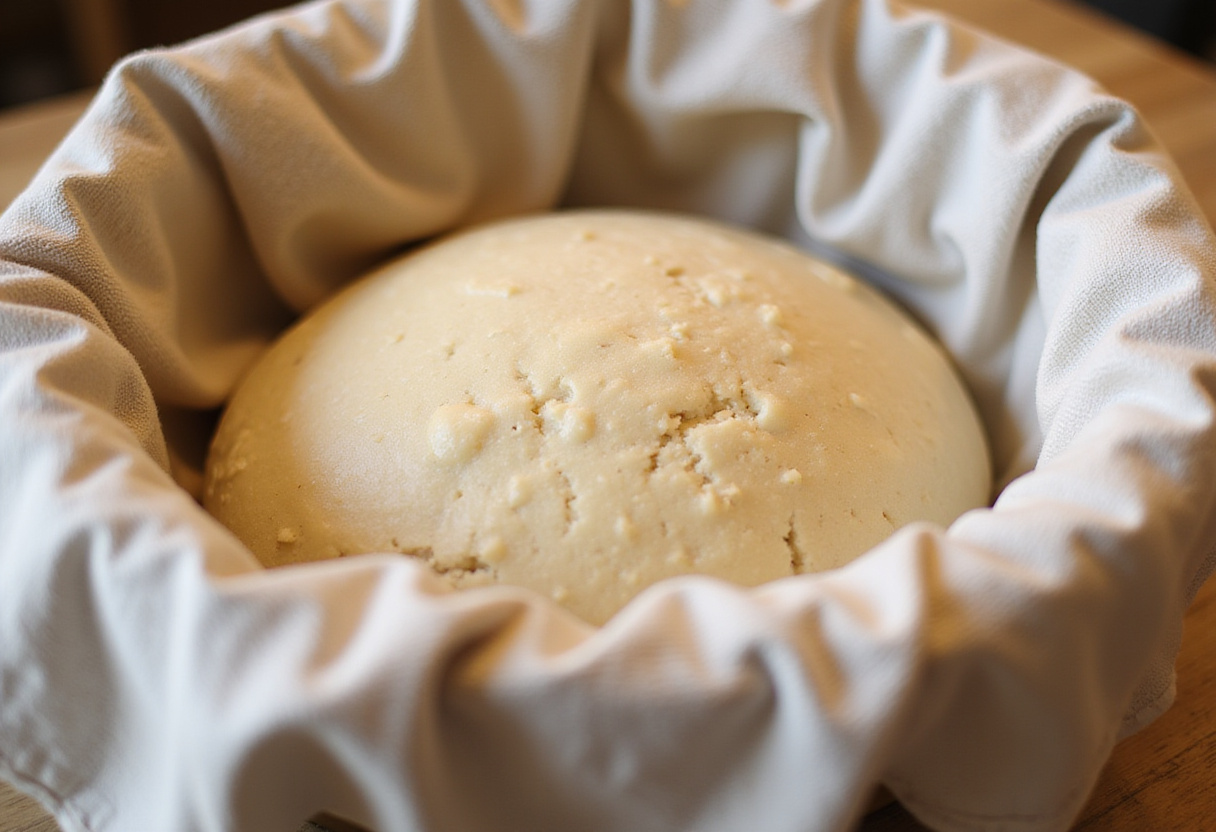
4. Proof the Dough
Find a clean bowl and lightly oil it. Place the kneaded dough in the oiled bowl, turning it gently to coat all sides with the oil. This will prevent the dough from drying out during the rising process. Cover the bowl tightly with plastic wrap or a clean, damp kitchen towel. Place the covered bowl in a warm place (a slightly warmed oven or a sunny spot in your kitchen works well) and let it rise undisturbed for about 1-1.5 hours, or until the dough has doubled in size. This crucial rising process is what gives reka bread its signature fluffy and airy texture. If you are looking for a quicker recipe, check out: honey butter cornbread poppers.
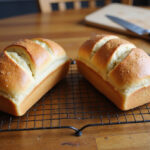
5. Shape and Bake
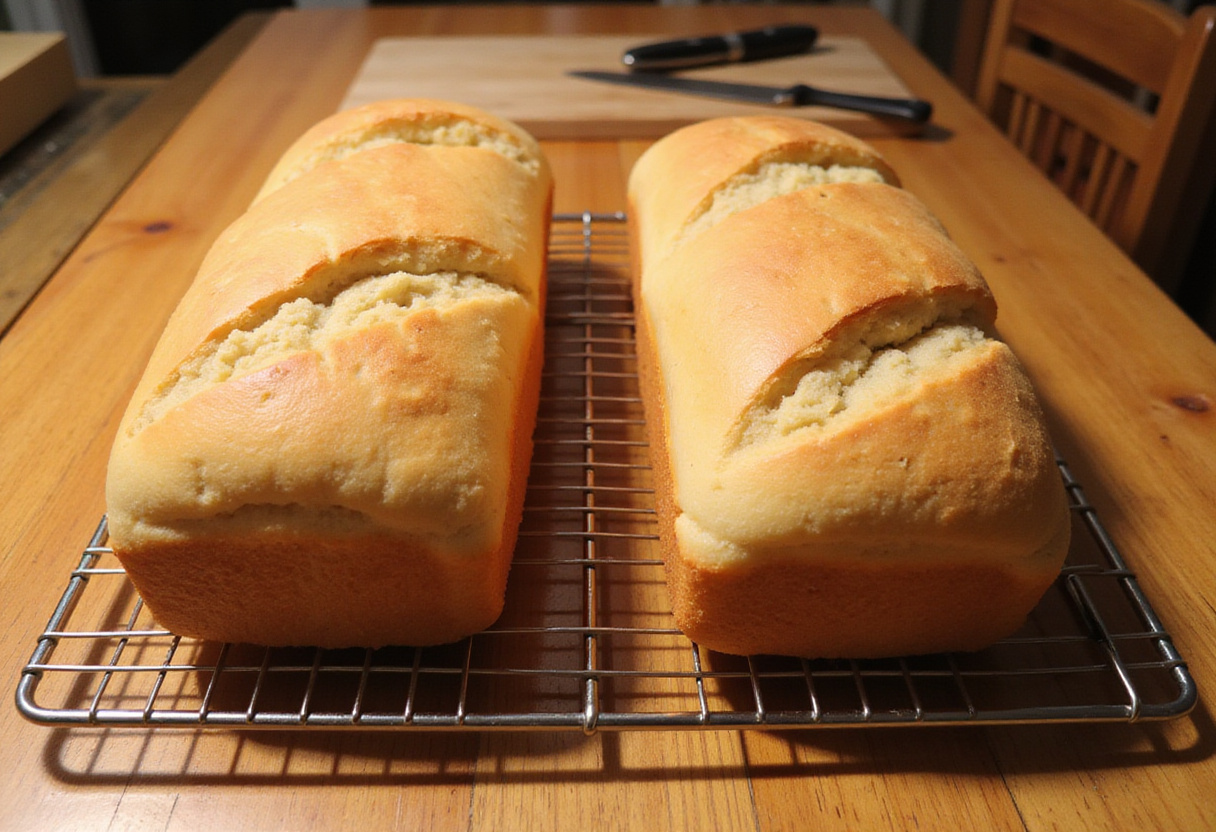
Preheat your oven to 375°F (190°C). While the oven is heating, gently punch down the risen dough to release the trapped air. This helps create a more even texture in the baked bread. Shape the dough into a loaf that fits comfortably into a greased loaf pan. Place the shaped dough in the prepared pan and let it rest for another 15-20 minutes. This allows the dough to relax slightly before baking. Bake in the preheated oven for 30-35 minutes, or until the loaf is golden brown on top and the internal temperature reaches 200°F (93°C). You can use a kitchen thermometer to check the internal temperature. Allow the freshly baked Reka bread to cool completely on a wire rack before slicing and serving. This prevents the bread from becoming gummy.
5. Tips for the Perfect Reka Bread
Always use a kitchen thermometer to ensure the water is at the right temperature.
Don’t over-knead the dough, as this can result in a tough texture.
Ensure the rising environment is warm and draft-free for optimal results.
Let the bread cool completely before slicing to prevent a gummy texture.
Following these tips will help you achieve the best possible homemade reka bread.
6. Variations and Additions
The basic reka bread recipe is a blank canvas that can be easily customized to perfectly suit your individual preferences and tastes. Unleash your creativity and consider adding some of these delicious variations:
Raisins or dried cranberries: Adding these to the dough will infuse it with a touch of natural sweetness and a delightful chewy texture that complements the soft bread beautifully.
A sprinkle of sesame seeds or poppy seeds: Before baking, sprinkle a generous helping of sesame seeds or poppy seeds on top of the loaf. This simple addition provides a boost of added flavor and visual appeal, making your bread even more enticing.
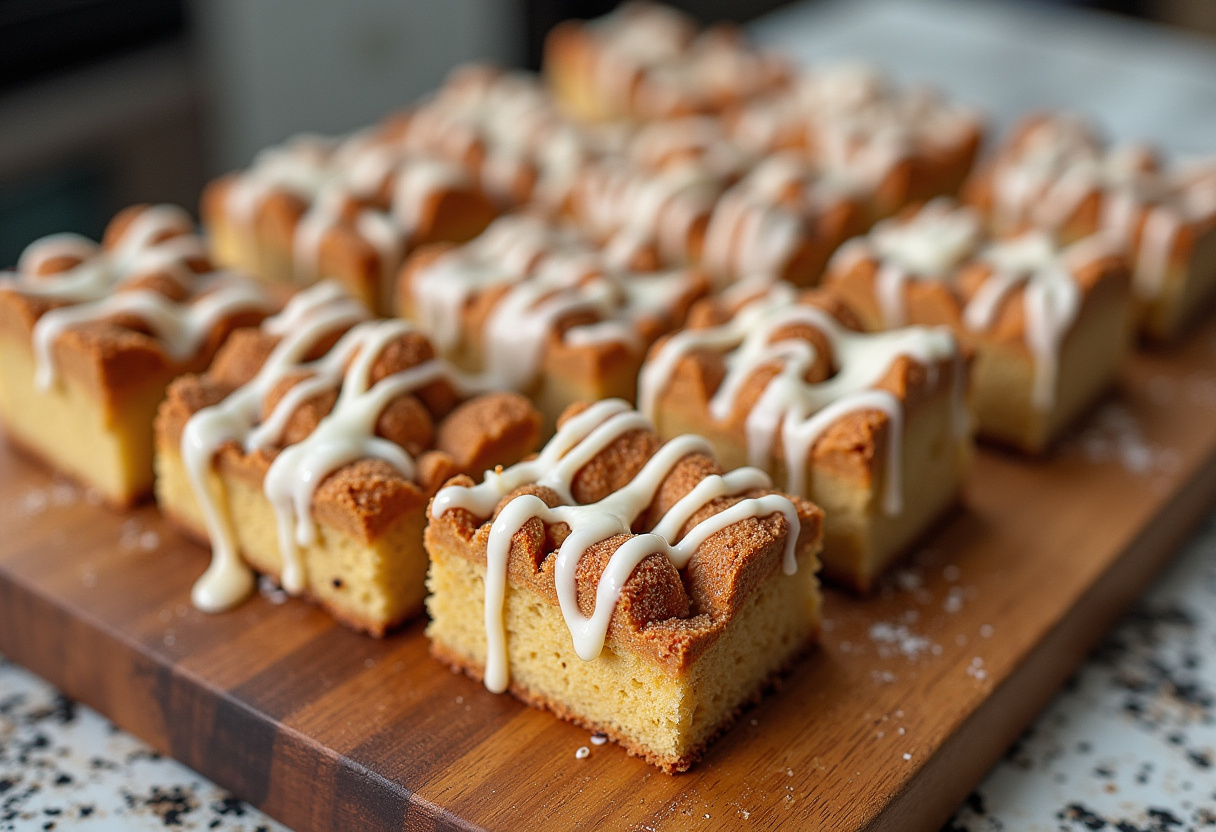
A hint of cinnamon or nutmeg: For a warm, spicy twist, incorporate a pinch of ground cinnamon or nutmeg into the dough. These spices add a subtle layer of complexity to the flavor profile of the bread.
These additions allow you to create a unique and personalized version of Reka bread.
7. Serving Suggestions
Reka bread is incredibly versatile, boasting a delightful flavor and texture that makes it suitable for a wide array of culinary applications. Explore these serving suggestions:
Serve it warm with butter or jam for breakfast.
Use it to make sandwiches with your favorite fillings.
Enjoy it as a side dish with soups or stews.
Toast it and top with avocado and a poached egg for a hearty brunch.
The possibilities are endless, making Reka bread a delightful addition to any meal.
8. Health Benefits of Homemade Bread
Making homemade reka bread offers several health benefits:
You control the ingredients, avoiding preservatives and additives found in store-bought bread.
It can be a good source of carbohydrates for energy.
Adding whole grains can increase the fiber content, promoting digestive health.
Baking your own Reka bread allows you to prioritize your health and well-being.
9. Conclusion
This reka bread recipe is a wonderful way to connect with a traditional and comforting food. The process of making homemade reka bread is not only satisfying but also results in a delicious and versatile loaf that can be enjoyed in countless ways. You might also enjoy: mozzarella stuffed rosemary parmesan soft pretzels. So, gather your ingredients, follow the steps, and experience the joy of baking your own Reka bread. Happy baking!
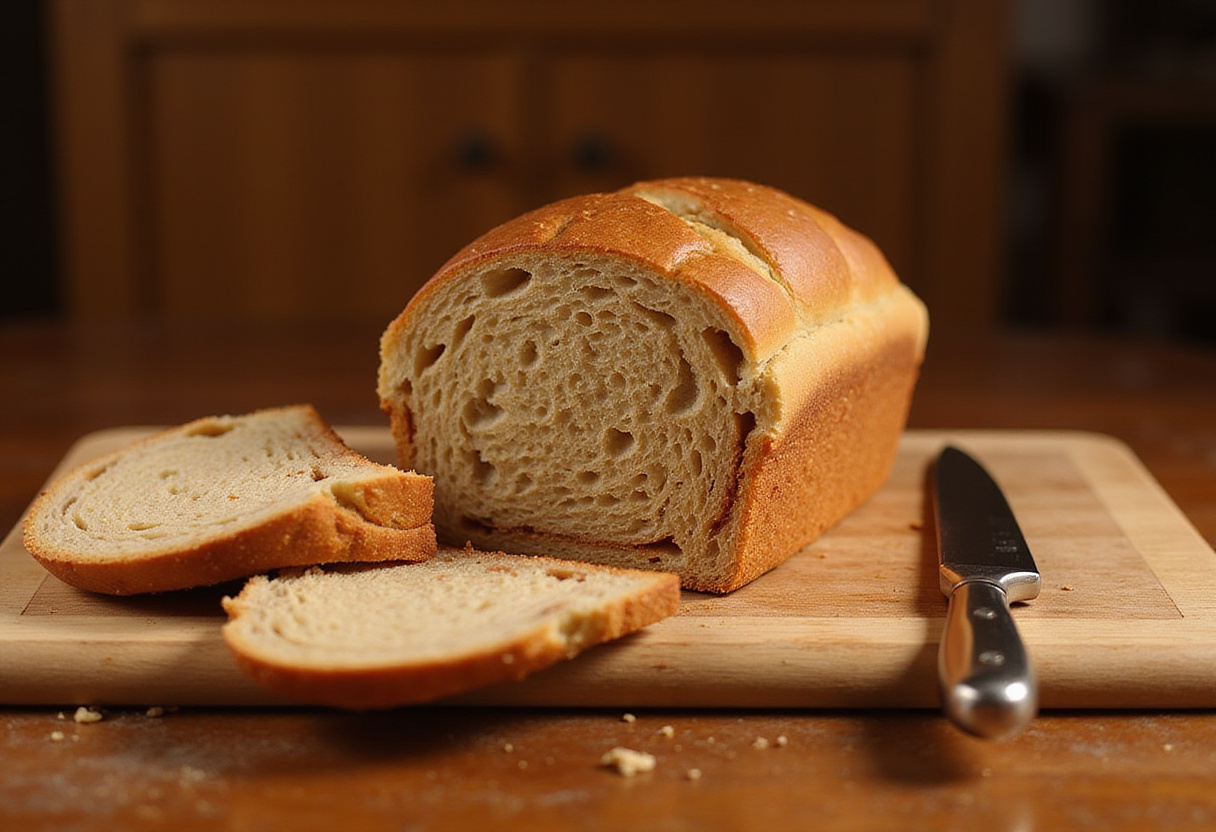
Bake a heartwarming loaf of Reka bread, a traditional Russian bread with a soft texture and subtle sweetness. This easy-to-follow recipe will fill your home with a comforting aroma and deliver a delightful taste of tradition.
Ingredients
Scale
3 cups all-purpose flour
1 packet (2 1/4 teaspoons) active dry yeast
1 1/4 cups warm water (110°F/43°C)
2 tablespoons sugar
1 teaspoon salt
2 tablespoons oil (vegetable or olive)
Instructions
Prepare the Yeast Mixture: In a small bowl, combine warm water, sugar, and active dry yeast. Let it sit for 5-10 minutes until foamy.
Combine Wet and Dry Ingredients: In a large mixing bowl, add flour and salt. Make a well in the center and pour in the yeast mixture and oil. Gradually mix until a shaggy dough forms.
Knead the Dough: Turn the dough out onto a lightly floured surface or use a stand mixer with a dough hook. Knead for 8-10 minutes until smooth and elastic. Add a little more flour if too sticky.
Proof the Dough: Place the dough in a lightly oiled bowl, turning to coat. Cover and let rise in a warm place for 1-1.5 hours, or until doubled in size.
Shape and Bake: Preheat oven to 375°F (190°C). Punch down the dough, shape into a loaf, and place in a greased loaf pan. Let it rest for 15-20 minutes. Bake for 30-35 minutes, or until golden brown and internal temperature reaches 200°F (93°C).
Cool and Serve: Allow the bread to cool completely before slicing and serving.
Notes
Ensure water is at the right temperature for activating the yeast.
Don’t over-knead the dough.
Provide a warm, draft-free environment when letting the dough rise.