Minty Snowball Cookies: A Refreshing & Festive Holiday Treat ❄️🍪✨
1. Introduction
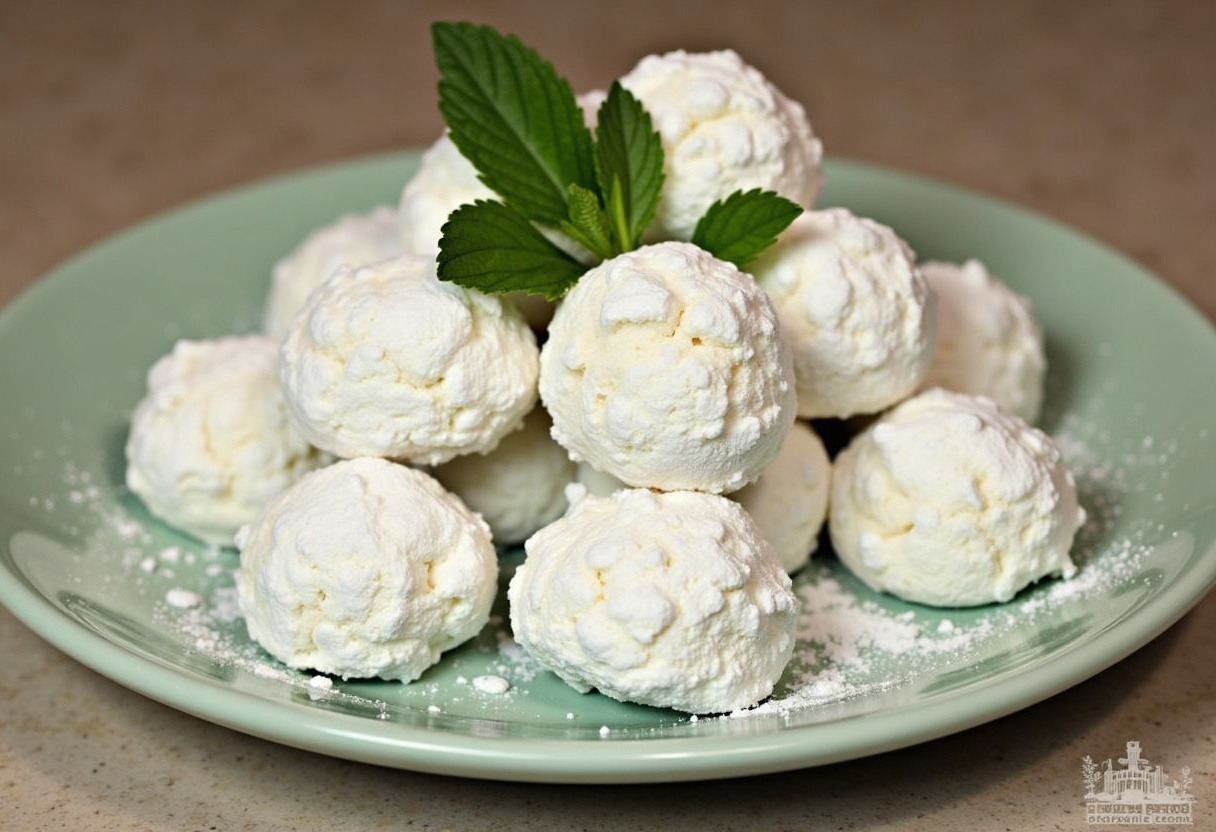
Minty Snowball Cookies are the perfect blend of buttery richness and refreshing mint, coated in a snowy dusting of powdered sugar that makes them look like little winter wonders. These delicate, melt-in-your-mouth cookies have become a holiday staple in many households, offering a delightful twist on traditional snowball cookies. The combination of fresh mint and buttery dough creates a unique flavor profile that’s both sophisticated and comforting. Whether you’re hosting a holiday party, participating in cookie exchanges, or simply craving a special treat, this foolproof mint snowball cookies recipe will guide you through creating bakery-quality results in your own kitchen. For more festive cookie ideas, check out these mint chocolate chip variations that might inspire your next baking session.
These picture-perfect mint snowball cookies make a stunning addition to any holiday dessert table
2. Ingredients
Gathering high-quality ingredients is the first step to creating exceptional mint snowball cookies. Here’s what you’ll need:
1 cup unsalted butter, softened – Using high-fat European-style butter will give your cookies an extra rich flavor
½ cup powdered sugar, plus extra for dusting – The fine texture blends perfectly into the dough
1 tsp vanilla extract – Pure vanilla extract enhances all the flavors
2 tbsp fresh mint leaves, finely chopped – Look for bright green, fragrant mint leaves
2 cups all-purpose flour – Measure properly by spooning into the cup and leveling off
¼ tsp salt – Balances the sweetness
½ cup finely chopped pecans or walnuts (optional) – Adds wonderful texture and nutty flavor
For those looking to explore more cookie recipes, our friends at MealsMom have excellent holiday baking suggestions that complement these mint snowball cookies beautifully.
3. Step-by-Step Instructions
Step 1: Cream Butter and Sugar
In a large mixing bowl, beat the softened butter and powdered sugar together for 3-5 minutes until light, fluffy, and almost white in color. This crucial step incorporates air into your mint snowball cookies, giving them that signature melt-in-your-mouth texture. Use a stand mixer with the paddle attachment or a hand mixer for best results. The mixture should be noticeably lighter in both color and texture when properly creamed.
Properly creamed butter and sugar forms the foundation of perfect mint snowball cookies
Step 2: Add Mint and Vanilla
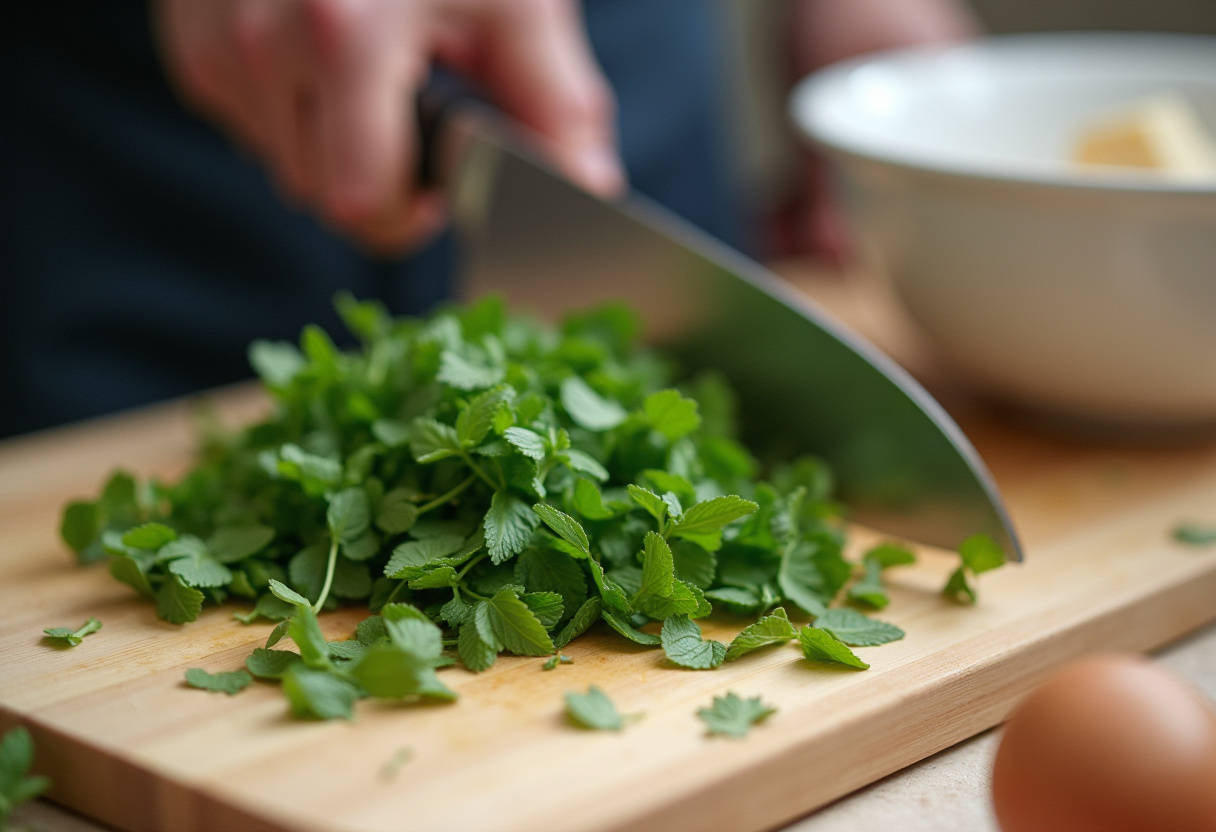
Stir in the vanilla extract and finely chopped fresh mint leaves. For the most vibrant mint flavor, use fresh mint leaves rather than dried – about 10-12 medium leaves should yield the 2 tablespoons needed. The fresh mint provides a bright, refreshing flavor that develops beautifully during baking. If you prefer a stronger mint flavor, you can gently bruise the chopped leaves before adding them to release more essential oils.
Fresh mint leaves add a natural, vibrant flavor to these holiday cookies
Step 3: Incorporate Dry Ingredients
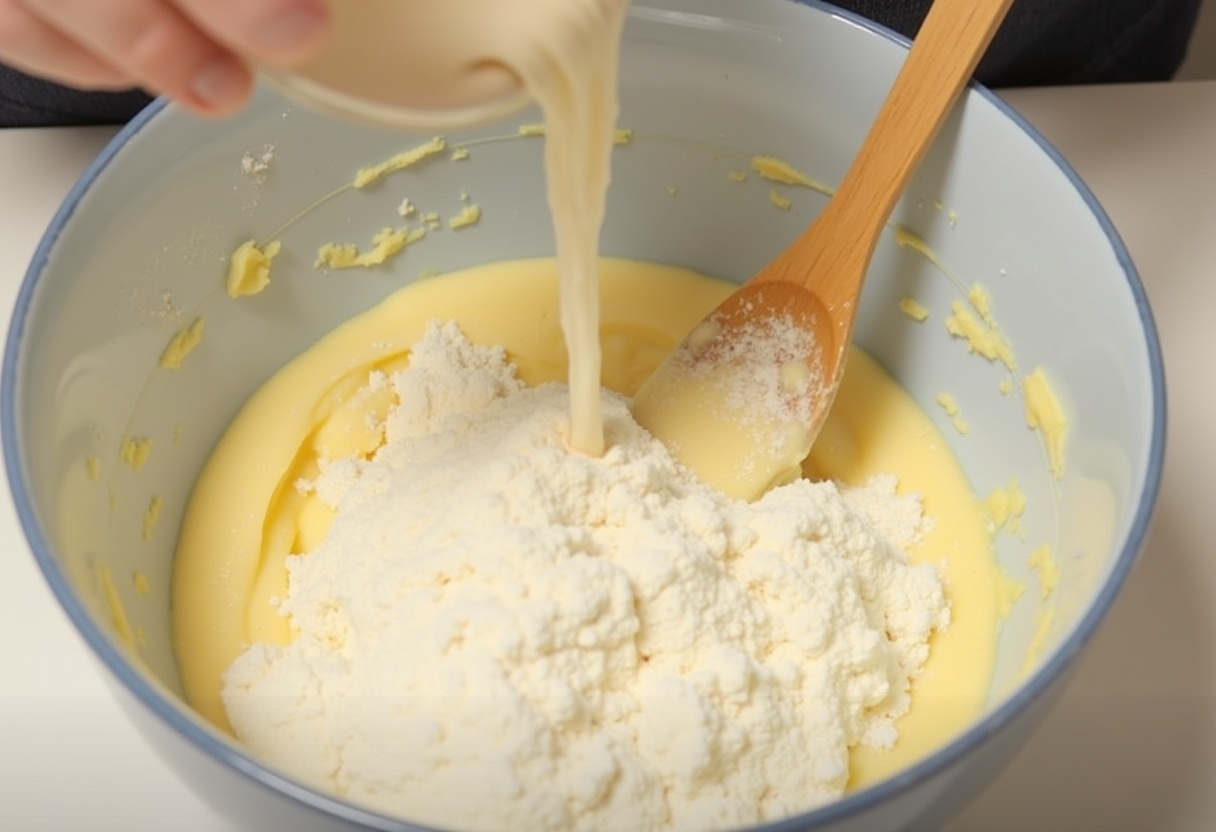
Gradually add the flour and salt to the butter mixture, mixing on low speed until just combined. If using nuts, fold them in at this stage with a spatula to prevent overmixing. The key to tender mint snowball cookies is handling the dough as little as possible once the flour is added. Overmixing develops gluten, which can make the cookies tough rather than delicate. The dough should come together but still be slightly crumbly – it will compact when you roll the balls.
Gently mixing in the dry ingredients ensures tender cookies
Step 4: Shape and Bake
Preheat your oven to 350°F (175°C) and line baking sheets with parchment paper. Roll the dough into 1-inch balls (about 1 tablespoon each) using your palms – the warmth of your hands helps the dough stick together. Place them about 2 inches apart on the prepared sheets. Bake for 12-15 minutes, rotating pans halfway through, until the bottoms are lightly golden but the tops remain pale. The cookies will continue to firm up as they cool, so don’t overbake them.
Uniformly sized dough balls ensure even baking
4. Cooling and Dusting
Allow the cookies to cool for exactly 5 minutes on the baking sheet – this helps them set without becoming too firm. Then transfer them carefully to a wire rack using a thin spatula. While still slightly warm (but not hot), roll each cookie generously in powdered sugar. This first coating will melt slightly into the cookies. After they’ve cooled completely (about 30 minutes), give them a second dusting of powdered sugar for that perfect snowy appearance. For extra sparkle, you can add a touch of edible glitter to the final dusting.
5. Storage Tips
Store your mint snowball cookies in an airtight container at room temperature for up to a week, placing parchment paper between layers to prevent sticking. The powdered sugar coating may absorb moisture over time – simply re-dust before serving if needed. For longer storage, freeze the baked cookies (without the final dusting of sugar) in a single layer before transferring to freezer bags for up to 3 months. Thaw at room temperature and apply the powdered sugar coating just before serving. You can also freeze the shaped dough balls and bake directly from frozen, adding 1-2 minutes to the baking time.
6. Variations
Chocolate Mint: Add ¼ cup cocoa powder to the dry ingredients and consider mixing in ½ cup mini chocolate chips for a decadent chocolate-mint version that’s especially popular with kids.
Peppermint: Substitute fresh mint with ½ tsp peppermint extract for a stronger mint flavor, and consider adding crushed candy canes to the final sugar dusting for festive crunch.
Gluten-Free: Use a 1:1 gluten-free flour blend (like King Arthur or Bob’s Red Mill) and add ½ tsp xanthan gum if your blend doesn’t include it.
Lemon-Mint: Add 1 tsp lemon zest with the mint for a bright, citrusy variation.
Matcha-Mint: Incorporate 1 tbsp matcha powder with the flour for an elegant green hue and antioxidant boost.
7. Serving Suggestions
These mint snowball cookies shine as part of a holiday cookie platter alongside classics like gingerbread and shortbread. They pair wonderfully with hot cocoa (the mint enhances chocolate flavors), coffee, or tea. For an adult twist, serve with peppermint schnapps-spiked coffee or mint tea. Arrange them in clear glass jars tied with ribbon for charming kitchen decor, or package them in decorative tins lined with wax paper as thoughtful homemade gifts. Consider creating a “cookie bar” with different varieties of snowball cookies (traditional, mint, chocolate) and let guests mix their own assortments.
8. Frequently Asked Questions
Can I use dried mint instead of fresh?
While fresh mint provides the best flavor, you can substitute with 1 tsp dried mint leaves if necessary. However, the flavor will be more subtle, so you might want to add ¼ tsp mint extract as well.
Why are my cookies spreading too much?
This usually happens if the butter was too soft or the dough wasn’t chilled. Try refrigerating the dough for 30 minutes before baking, and make sure your oven is fully preheated. Also, check that you’re using the correct flour measurement – too little flour can cause spreading.
Can I make these cookies ahead of time?
Absolutely! The dough can be refrigerated for up to 3 days or frozen for a month before baking. Baked cookies (without final sugar coating) freeze beautifully for up to 3 months. The flavors actually improve after a day or two as the mint mellows into the buttery dough.
How do I prevent the powdered sugar from melting into the cookies?
Make sure the cookies are completely cool before the final dusting. You can also try using a fine-mesh sieve to apply a lighter, more even coating that’s less likely to absorb moisture.
9. Conclusion
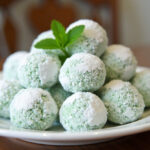
These Minty Snowball Cookies are more than just a holiday treat – they’re little edible snowflakes that bring joy to every bite. Their delicate texture, refreshing mint flavor, and beautiful snowy appearance make them stand out from ordinary cookies while remaining simple enough for bakers of all levels. The recipe’s versatility allows for endless creativity, whether you stick to the classic version or experiment with fun variations. As you share these cookies with loved ones, you’re not just offering a sweet treat, but a moment of holiday magic. The subtle mint flavor makes them particularly refreshing after rich holiday meals, and their dainty size means you can enjoy them without guilt. We hope this mint snowball cookies recipe becomes a cherished part of your family’s holiday traditions for years to come. Happy baking! 🎄❄️🍪
Enjoy the festive flavors of these Minty Snowball Cookies, featuring a buttery, melt-in-your-mouth texture infused with refreshing mint and studded with chocolate chips. Perfect for holiday gatherings or as a delightful treat any time of the year.
Ingredients
Scale
1 cup unsalted butter, softened
½ cup powdered sugar
1 teaspoon vanilla extract
½ teaspoon peppermint extract
2 cups all-purpose flour
¼ teaspoon salt
1 cup mini chocolate chips
1 cup powdered sugar (for rolling)
Instructions
Preheat the oven to 350°F (175°C) and line a baking sheet with parchment paper.
In a large mixing bowl, cream together the softened butter and ½ cup powdered sugar until light and fluffy.
Mix in the vanilla and peppermint extracts until well combined.
Gradually add the flour and salt, mixing until just incorporated.
Stir in the mini chocolate chips.
Shape the dough into 1-inch balls and place them on the prepared baking sheet about 1 inch apart.
Bake for 10-12 minutes, or until the bottoms are lightly golden.
Remove from the oven and let the cookies cool for 5 minutes.
Roll the warm cookies in the remaining 1 cup of powdered sugar until fully coated.
Transfer to a wire rack to cool completely.
Once cooled, roll the cookies in powdered sugar again for a final coating.
Notes
Ensure the butter is properly softened for optimal cookie texture.
For a more pronounced mint flavor, increase the peppermint extract to ¾ teaspoon.
Store the cookies in an airtight container at room temperature for up to a week.
These cookies freeze well; store them in a freezer-safe container for up to 3 months.