A Simple Bread Machine Recipe Book Recipe for Busy Weeknights
A Simple Bread Machine Recipe Book Recipe for Busy Weeknights
April 27, 2025
Author : Megan C
Jump to Recipe
A Simple Bread Machine Recipe Book Recipe for Busy Weeknights: Crusty, Effortless, and Delicious! 🍞⏱️😋
1. Introduction
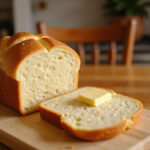
In today’s fast-paced world, finding time to bake can feel like a luxury. But what if you could enjoy the aroma and taste of freshly baked bread without spending hours toiling in the kitchen? Enter the bread machine – your secret weapon for reclaiming those precious weeknight minutes! This article isn’t just about providing a simple bread machine recipe; it’s about empowering you to create delicious, homemade bread with minimal effort. Imagine sinking your teeth into a warm slice of freshly baked bread after a long day – all thanks to the convenience of your bread machine. Whether you’re a seasoned baker seeking a shortcut or a complete novice eager to try your hand at baking, these easy bread machine recipes will transform your weeknight dinners. Get ready to simplify your baking routine and savor the unmatched taste of homemade goodness with minimal fuss! If you’re already thinking about easy baking, perhaps you’d also enjoy these Easy Strawberry Cheesecake Rolls for a sweet treat!
2. Why Use a Bread Machine?
Bread machines are more than just a kitchen appliance; they’re a game-changer for busy individuals and families alike. They automate the entire bread-making process, from the initial kneading to the final baking stage, ensuring consistent results every single time. This removes the guesswork and potential for error, making homemade bread accessible to everyone. Here are a few compelling reasons why you should embrace bread machine recipes and make them a regular part of your cooking:
Convenience: This is the biggest advantage! Simply add your ingredients to the pan, select your desired settings, set the timer, and let the machine do all the hard work while you focus on other things.
Time-Saving: Say goodbye to spending hours kneading dough by hand or constantly monitoring its progress. This time-saving aspect is particularly invaluable on busy weeknights when every minute counts.
Consistency: Bread machines provide a perfectly controlled environment, meticulously regulating temperature and kneading time. This level of control leads to evenly baked bread with a consistent and desirable texture, loaf after loaf.
Versatility: Bread machines aren’t limited to just basic loaves! Many models offer a wide range of settings and programs, allowing you to create various types of bread, including hearty whole wheat, tangy sourdough, enriched sweet breads, and even delicious cakes and jams.
Incorporating these easy bread machine recipes into your weekly meal plan will quickly transform them into a beloved staple in your kitchen, offering both convenience and delicious, fresh bread. If you’re looking for other convenient recipes, try these Southern Style Honey Butter Cornbread Poppers!
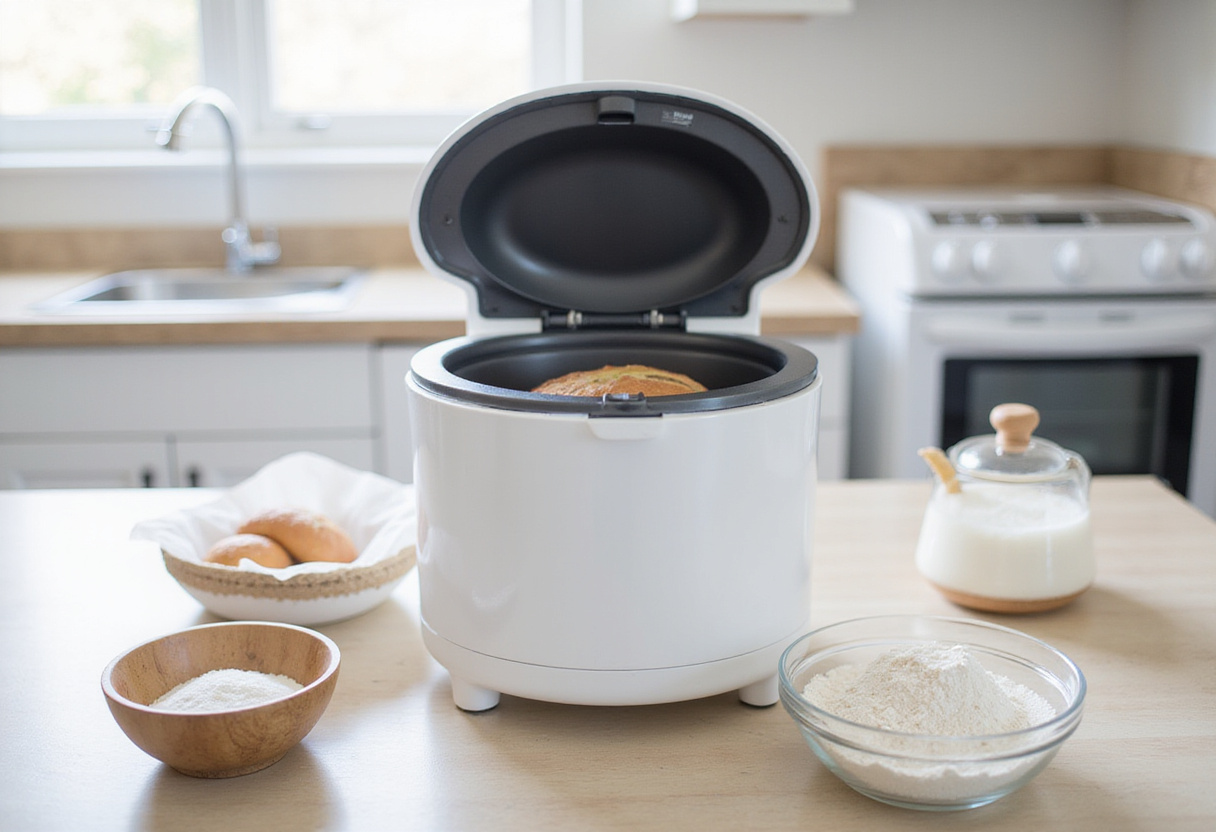
3. Essential Ingredients for Bread Machine Success
Before diving headfirst into the wonderful world of bread machine baking, let’s take a moment to ensure you have all the right ingredients readily available. Using high-quality ingredients will make a significant and noticeable difference in the final flavor and texture of your baked bread. Here’s a breakdown of what you’ll need for a truly delicious loaf:
Bread Flour: This special type of flour boasts a higher protein content than all-purpose flour. This extra protein is crucial for developing gluten, which results in the desired chewy and slightly elastic texture that characterizes good bread.
Yeast: This is the leavening agent that makes your bread rise. For bread machines, you can typically use either active dry yeast or instant yeast (also known as bread machine yeast). The key is to ensure that your yeast is fresh; check the expiration date for the best rise possible.
Water: Lukewarm water, typically around 105-115°F (40-46°C), is ideal for activating the yeast and allowing it to thrive. Too hot, and you risk killing the yeast; too cold, and it might not activate properly.
Sugar: While seemingly a minor ingredient, sugar plays a vital role. It provides essential food for the yeast, encouraging its activity and contributing to a better rise. Additionally, sugar adds a subtle touch of sweetness to the final baked product.
Salt: Salt isn’t just about flavor; it’s a crucial component in controlling the yeast’s activity. It helps to slow down the fermentation process, preventing the bread from rising too quickly and resulting in a more even texture and enhanced flavor.
Oil or Butter: The addition of a little oil or melted butter adds much-needed moisture to the dough, resulting in a softer, more tender crumb. It also contributes to the overall richness and flavor of the bread.
Having these basic ingredients prepped and ready to go will significantly streamline your overall bread-making process, making it even more efficient and enjoyable. Now that we’ve covered the essentials, let’s get started with our tried-and-true simple bread machine recipe!
If you’re thinking about other recipes, try these recipes here
4. A Go-To Simple Bread Machine Recipe
This wonderfully simple recipe is specifically designed with both simplicity and ease in mind, making it an absolutely perfect choice for those busy weeknights when you crave homemade bread but don’t have hours to dedicate to the process. Follow these easy-to-understand steps to create a delicious loaf of bread that will be the perfect accompaniment to any meal.
Step 1: Measure and Add Ingredients
Begin by adding all the wet ingredients to the bread machine pan first. This helps to ensure even distribution and proper hydration of the dry ingredients. Pour in 1 1/4 cups of lukewarm water, followed by 2 tablespoons of your preferred vegetable oil (such as canola, sunflower, or olive oil). Next, carefully add the dry ingredients: 3 cups of bread flour, 2 tablespoons of granulated sugar, 1 1/2 teaspoons of salt, and 2 1/4 teaspoons of active dry yeast. It’s important to make sure that you add the salt and yeast separately to the pan, preventing them from coming into direct contact and potentially neutralizing each other, which can inhibit the yeast’s activity.
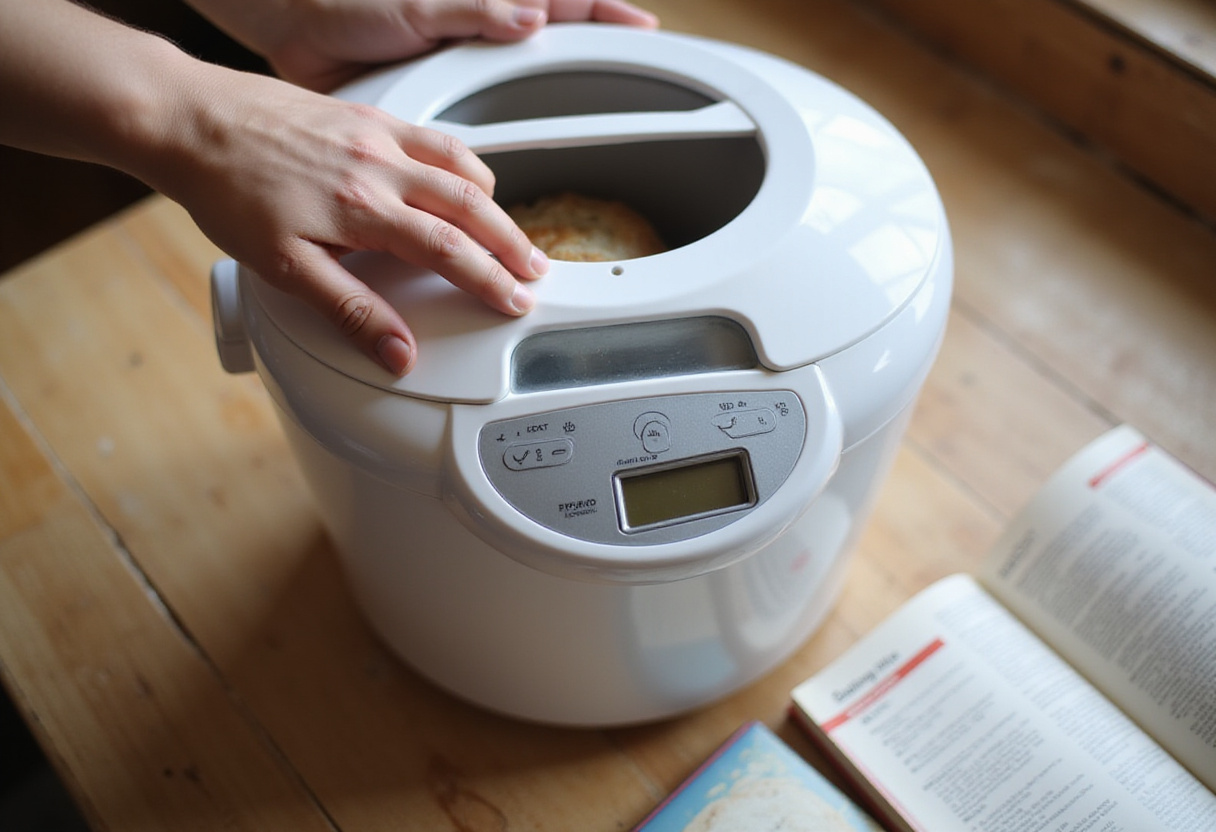
Step 2: Load and Set the Bread Machine
Carefully place the bread machine pan into the machine, making sure that it clicks securely into place. Double-check that the pan is properly seated before proceeding. Close the lid of the bread machine tightly. Now, select the appropriate settings on your bread machine’s control panel. For this particular recipe, the “Basic” or “White Bread” setting is generally the most suitable. You’ll also want to select your desired crust color, choosing from options like light, medium, or dark, depending on your preference. Lastly, select the loaf size, which is usually either 1.5 or 2 pounds, depending on the capacity of your bread machine and how much bread you want to bake. If you’re interested in some cheesy bread, perhaps you’d enjoy these Easy No-Bake Cheesy Bread!
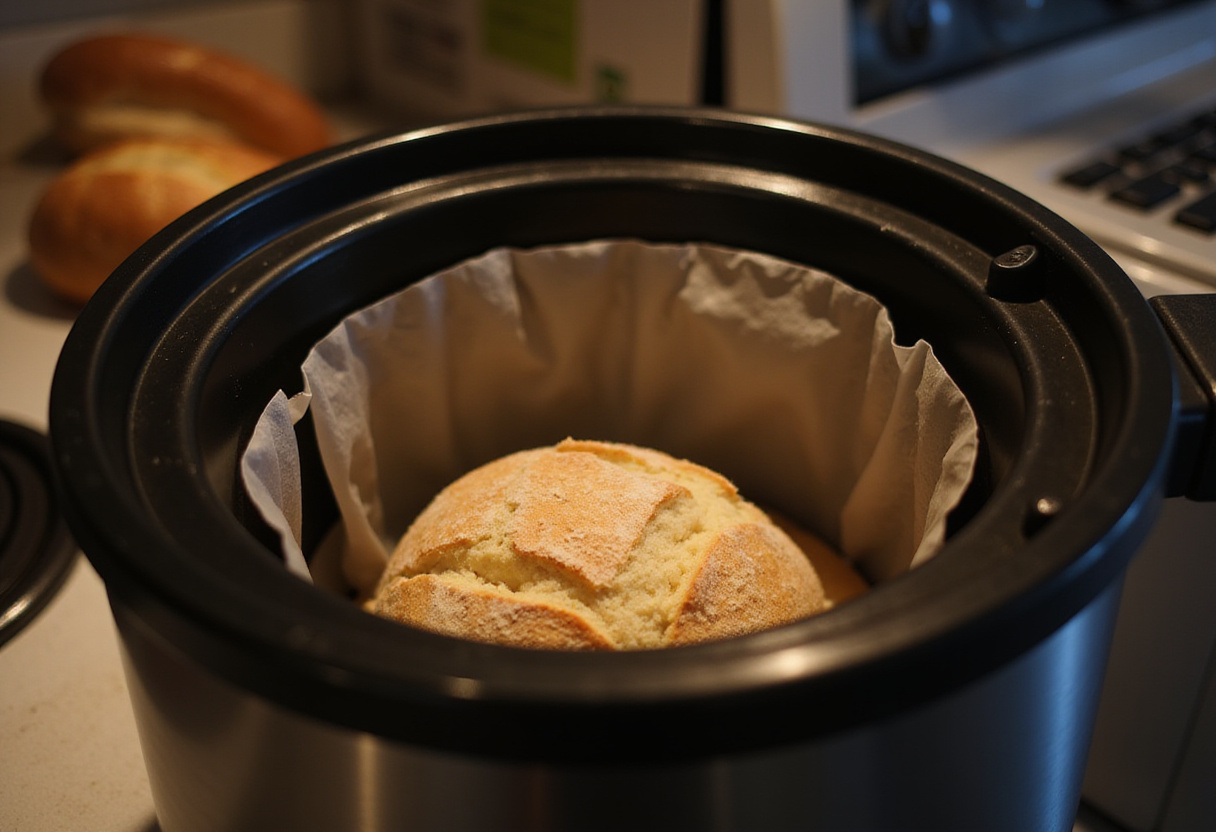
Step 3: Start the Machine and Let it Work
Once you’ve loaded the ingredients, secured the pan, and selected all the appropriate settings, it’s time to press the “Start” button and let the bread machine work its magic! The machine will now handle the entire process, including kneading the dough, allowing it to rise, and finally baking it to perfection. This entire cycle typically takes between 3 to 4 hours, depending on the specific model of your bread machine and the settings you’ve selected. During this time, you can simply relax and let the delightful aroma of baking bread fill your kitchen, creating a warm and inviting atmosphere.
Step 4: Remove and Cool the Bread
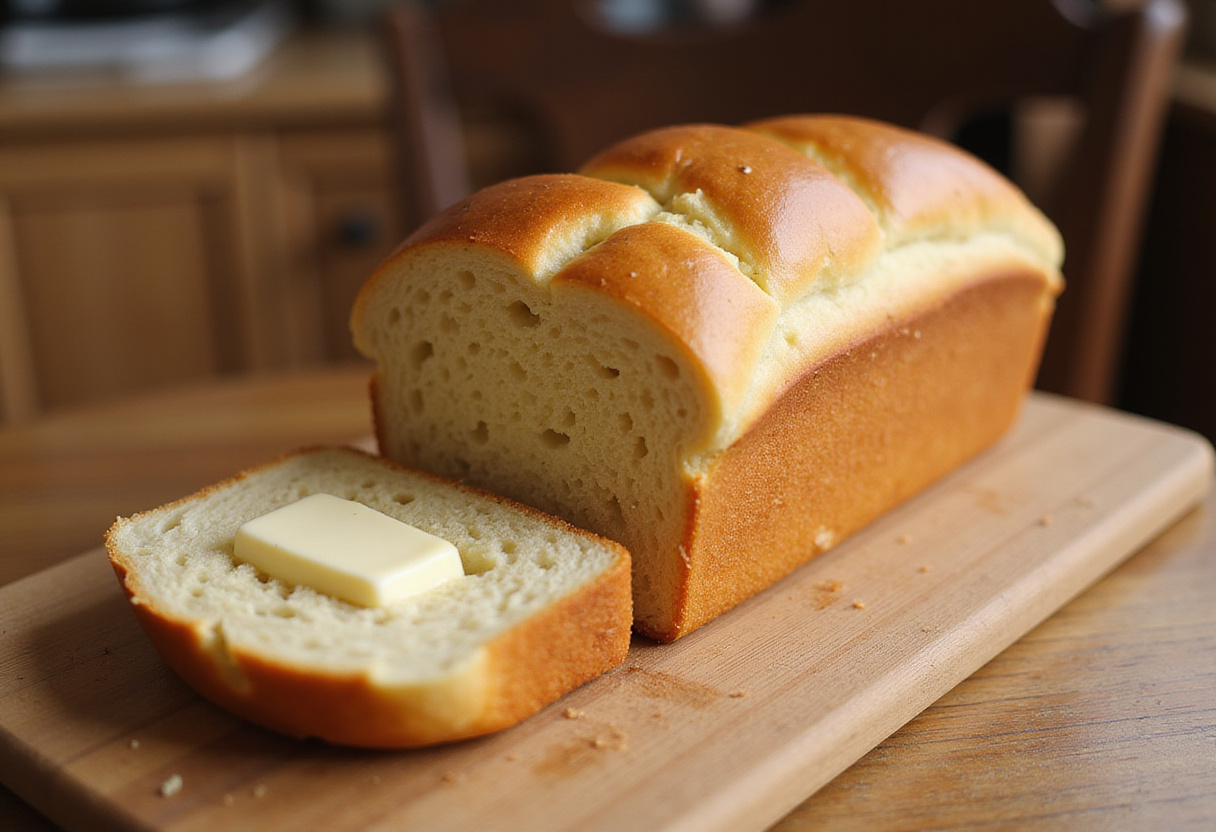
Once the baking cycle is fully complete, your bread machine will typically emit a loud beep to signal that the bread is ready. Carefully remove the bread pan from the machine, being sure to use oven mitts or pot holders to protect your hands from the heat. Turn the pan upside down over a wire rack and gently shake it to release the freshly baked loaf of bread. If the bread doesn’t come out easily, try using a spatula to loosen it from the sides of the pan. Place the loaf on the wire rack and allow it to cool completely before you start slicing and serving it. This cooling period is absolutely crucial, as it allows the internal structure of the bread to set properly, preventing it from having a gummy or doughy texture.
5. Tips for Perfect Bread Machine Recipes
To ensure that your bread machine recipes consistently turn out perfectly every single time, it’s important to keep a few helpful tips in mind. These tips will help you to avoid common pitfalls and achieve bakery-quality bread right in your own kitchen:
Use Fresh Ingredients: Freshness is key when it comes to baking! Be sure to use fresh yeast and flour, as they are absolutely essential for achieving a good rise and optimal texture. Check the expiration dates on all of your ingredients before you begin.
Measure Accurately: Precise measurements are absolutely crucial for achieving consistent results in bread machine baking. Use measuring cups and spoons specifically designed for baking, and level off the ingredients carefully.
Follow the Order: Most bread machine manufacturers recommend adding the ingredients in a specific order, as this can impact the final outcome. Consult your bread machine’s manual for the recommended order, which typically involves adding the wet ingredients first, followed by the dry ingredients, and the yeast last.
Monitor the Dough: During the kneading process, take a peek at the dough’s consistency. If it appears to be too dry, add a tablespoon of water at a time until it reaches the desired consistency. Conversely, if the dough seems too wet and sticky, add a tablespoon of flour at a time.
Experiment with Flavors: Once you’re comfortable with the basic recipe, don’t be afraid to get creative and experiment with different flavors! Try adding dried herbs, shredded cheese, chopped nuts, or even dried fruit to create your own signature loaves.
By taking these helpful tips into consideration, you’ll be well on your way to mastering the art of bread machine baking and creating a wide variety of delicious and impressive loaves that are sure to impress your family and friends. Or if you’re feeling something sweet try these Blueberry Cheesecake Cookies
6. Variations and Add-ins to Explore
One of the most exciting aspects of using a bread machine is the incredible ability to customize your loaves to perfectly match your tastes and preferences. Once you’ve mastered the basic bread machine recipe, the possibilities for variations and additions are virtually endless! Here are some creative ideas to inspire your culinary exploration:
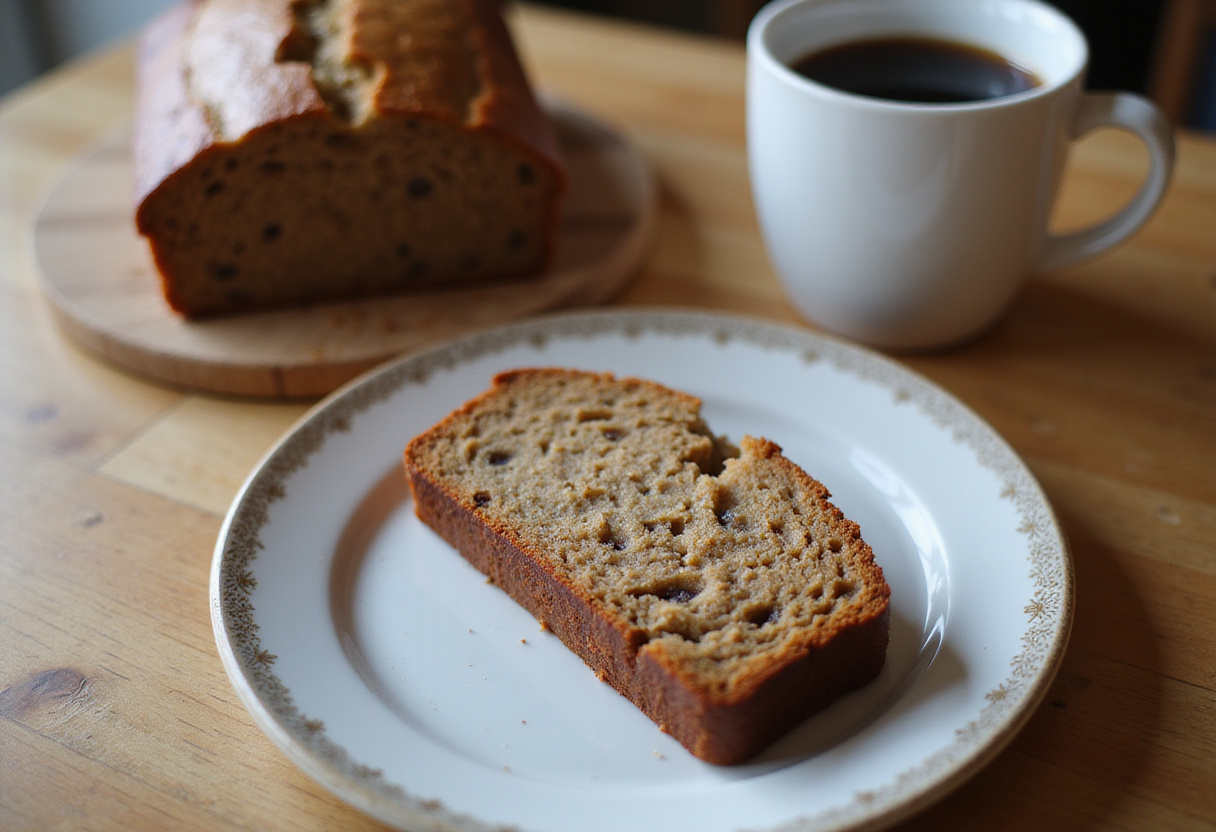
Whole Wheat Bread: For a healthier and more nutritious loaf, try substituting half of the bread flour with whole wheat flour. This will result in a bread with a slightly denser texture and a nutty, earthy flavor.
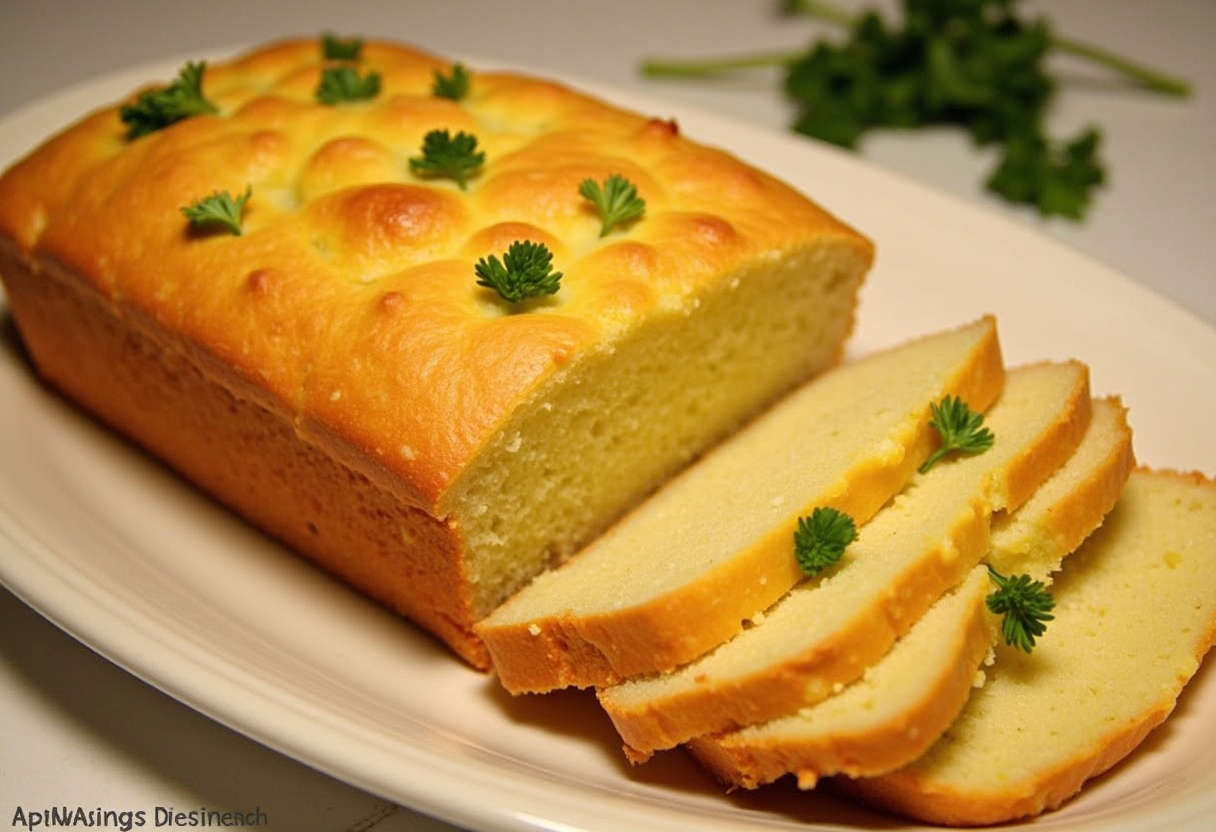
Herb Bread: Infuse your bread with aromatic flavors by adding 1-2 tablespoons of dried herbs to the dry ingredients. Rosemary, thyme, oregano, and basil are all excellent choices that complement the bread’s flavor beautifully.
Cheese Bread: Transform your plain loaf into a cheesy delight by incorporating 1/2 cup of shredded cheese into the dough. Cheddar, parmesan, mozzarella, and provolone are all fantastic options that melt beautifully and add a savory richness to the bread.
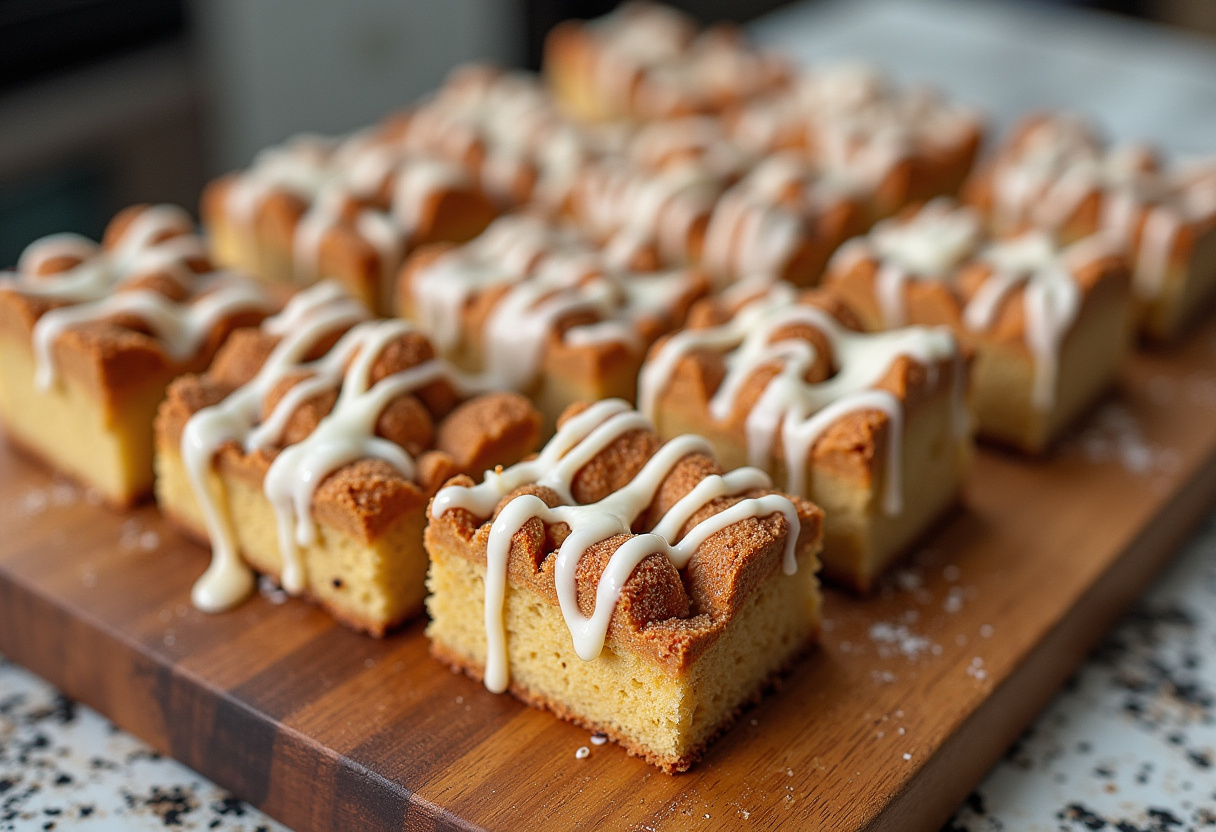
Sweet Bread: Indulge your sweet tooth by adding 1/4 cup of honey or maple syrup to the dough for a touch of sweetness. You can also add a sprinkle of cinnamon and a handful of raisins for a truly delightful and comforting treat.
Sourdough Bread: For a more advanced baking project, try using a sourdough starter in place of commercial yeast to create a tangy and flavorful sourdough bread. This requires a bit more attention and may necessitate a specialized sourdough bread machine setting, but the results are well worth the effort.
With these easy bread machine recipes and a little bit of creativity, the possibilities for experimentation are truly endless. Don’t hesitate to adapt the basic recipe to suit your individual taste preferences and create your own unique bread masterpieces. If you’re looking for something to go with your bread, how about Cranberry Brie Mozzarella Grilled Sandwich?
7. Common Mistakes to Avoid
While bread machines are generally known for being relatively foolproof and user-friendly, there are still some common mistakes that can potentially affect the final product and prevent you from achieving optimal results. Here’s a list of what to watch out for to ensure consistent success with your bread machine recipes:
Expired Yeast: Always, always check the expiration date of your yeast before using it! Expired yeast will not provide the necessary rise, resulting in a dense and flat loaf.
Incorrect Measurements: As mentioned earlier, accurate measurements are absolutely essential in bread machine baking. Inaccurate measurements can easily lead to bread that is either too dry and dense or overly sticky and unmanageable.
Overfilling the Pan: Be mindful of the maximum capacity of your bread machine pan. Exceeding this limit can cause the dough to overflow during the baking process, creating a messy situation and potentially damaging your machine.
Using the Wrong Settings: Selecting the wrong settings on your bread machine can lead to bread that is either under-baked, resulting in a doughy center, or over-baked, resulting in a dry and crusty loaf. Always double-check your machine’s manual for guidance on selecting the appropriate settings for your specific recipe.
Opening the Lid Too Often: While it can be tempting to peek inside and monitor the bread’s progress, opening the lid too frequently during the baking process can cause the bread to collapse due to temperature fluctuations.
By being aware of these potential pitfalls and taking the necessary precautions to avoid them, you can ensure consistently successful and delicious results with all of your bread machine recipes. Speaking of recipes, perhaps you’d be interested in Mozzarella Stuffed Rosemary Parmesan Soft Pretzels?
8. Storing Your Homemade Bread
Proper storage is absolutely essential for maintaining the freshness and extending the shelf life of your homemade bread. Here are some helpful tips to ensure that your freshly baked bread stays delicious for as long as possible:
Cool Completely: Before storing your bread, it’s crucial to allow it to cool completely on a wire rack. This prevents moisture from building up inside the loaf, which can lead to mold growth and a stale texture.
Use a Bread Bag: The ideal way to store your homemade bread is in a breathable bread bag, which allows for some air circulation while still protecting the bread from drying out. Alternatively, you can use a loosely sealed plastic bag.
Avoid Refrigeration: While it may seem counterintuitive, refrigerating bread can actually dry it out and make it stale much faster. It’s best to store bread at room temperature.
Freeze for Longer Storage: If you want to keep your bread for more than a few days, the best option is to slice it and freeze it in an airtight container or freezer bag. This will preserve its freshness for several weeks. When you’re ready to enjoy it, simply thaw the desired number of slices at room temperature or in the toaster.
By following these simple storage tips, you can ensure that you’re able to enjoy your freshly baked bread for days to come, savoring its delicious flavor and texture with every bite. If you’re looking for other recipes made with honey, you might like these Best Homemade Honey Roasted Carrots!
9. Conclusion
Mastering simple bread machine recipes can truly transform your busy weeknights, bringing the unparalleled joy of homemade bread to your table with minimal effort and maximum deliciousness. From the basic white loaf, a perfect starting point for any beginner, to more adventurous and creative variations featuring herbs, cheese, and sweeteners, the possibilities are as endless as your imagination. By diligently following our comprehensive step-by-step guide, incorporating the helpful tips and tricks we’ve shared, and actively avoiding the common mistakes that can derail your baking efforts, you’ll be well on your way to consistently enjoying delicious, freshly baked bread whenever your heart desires. Embrace the remarkable convenience and exceptional versatility of your bread machine, and elevate your weeknight dinners to a whole new level with the unparalleled taste and aroma of homemade goodness. Happy baking, and may your kitchen always be filled with the delightful scent of freshly baked bread! If you like this recipe, maybe you’d like these Christmas Eve Cinnamon Vanilla Creamy Custard Pie!
Make delicious, homemade bread effortlessly with this simple bread machine recipe, perfect for busy weeknights. Enjoy the aroma and taste of freshly baked bread with minimal time and effort.
Ingredients
Scale
3 cups bread flour
1 1/4 cups lukewarm water
2 tablespoons vegetable oil
2 tablespoons sugar
1 1/2 teaspoons salt
2 1/4 teaspoons active dry yeast
Instructions
Add lukewarm water and vegetable oil to the bread machine pan.
Add bread flour, sugar, and salt. Make sure salt and yeast are separated.
Add active dry yeast on top of the dry ingredients.
Place the bread machine pan into the machine and close the lid.
Select the ‘Basic’ or ‘White Bread’ setting, choose your desired crust color, and loaf size.
Press start and let the machine work for 3-4 hours.
Once the baking cycle is complete, remove the bread pan carefully.
Turn the pan upside down and gently shake to release the bread.
Place the loaf on a wire rack to cool completely before slicing and serving.
Notes
Ensure your yeast is fresh for the best rise.
Measure ingredients accurately for consistent results.
Cool bread completely before slicing to prevent a gummy texture.
Experiment with adding herbs, cheese, or nuts for different flavors.