Vintage Cake: A Timeless Delight From Grandma’s Kitchen 🎂👵✨
1. Introduction
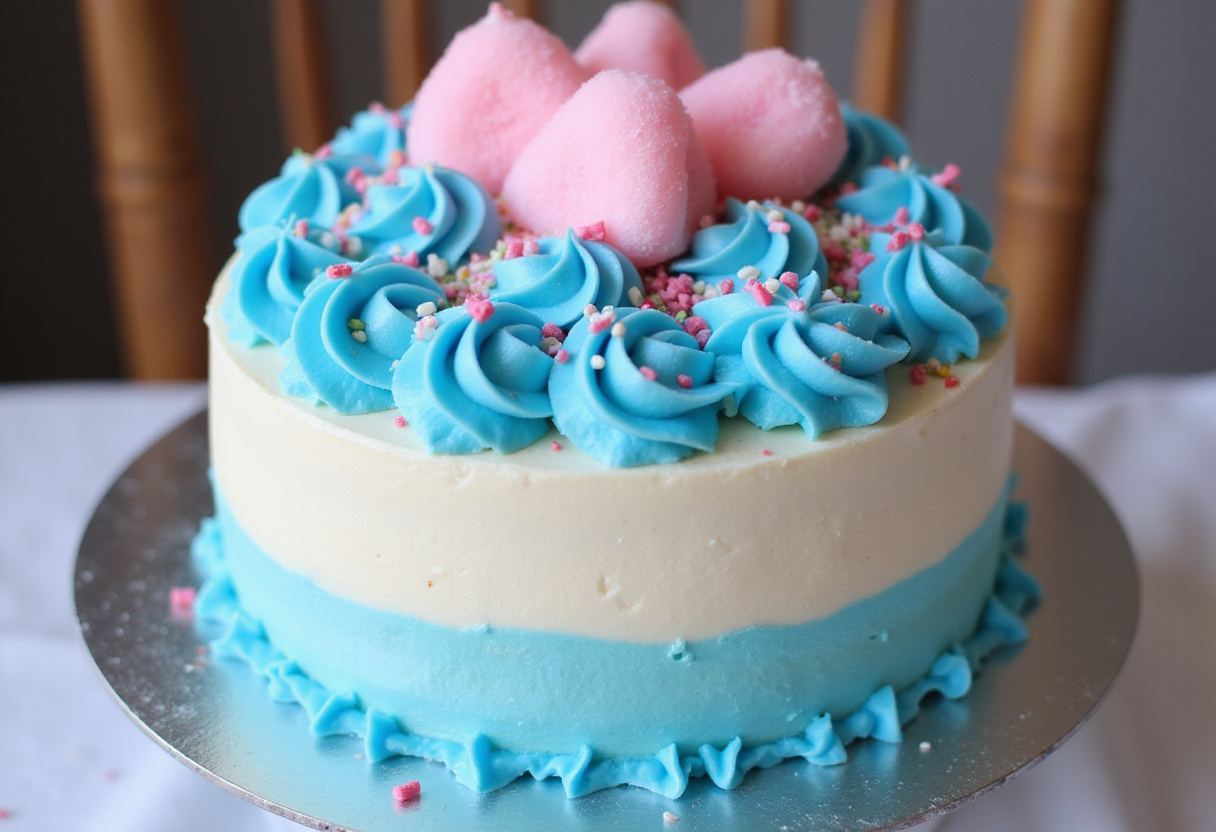
There’s something undeniably comforting about a vintage cake recipe. It evokes memories of family gatherings, the sweet aroma filling the kitchen, and the simple joy of sharing a homemade treat. This retro cake recipe is more than just a dessert; it’s a connection to the past, a taste of nostalgia, and a testament to the enduring appeal of classic baking. Perhaps you are looking for more dessert inspirations? Check out these amazing desserts! Whether you call it a classic cake recipe or an old-fashioned cake recipe, this cake is sure to become a cherished favorite. Get ready to bake a cake that will transport you back in time with its delightful flavor and comforting simplicity.
2. History of Vintage Cakes
The history of vintage cake recipes is deeply intertwined with the evolution of baking itself. These cakes often reflect the ingredients and techniques available during specific eras. Learning about the history of cake is a very joyful adventure. Many classic cake recipes were born out of necessity, using simple, readily available ingredients. Passed down through generations, these old-fashioned cake recipes have become treasured family heirlooms, each with its own unique story and variations. Exploring these retro cake recipes provides a glimpse into culinary history, showcasing how baking has evolved while retaining its timeless appeal. If you enjoy old-fashioned recipes, you might like this no bake cheesy bread. The charm of a vintage cake recipe lies not only in its taste but also in its rich historical context.
3. Why This Recipe Stands Out
This particular vintage cake recipe stands out due to its simplicity and incredible flavor. Unlike some modern cakes with intricate techniques and exotic ingredients, this classic cake recipe focuses on the basics, delivering a moist, tender crumb and a comforting sweetness. For a similar deliciousness, consider trying our Blueberry Cheesecake Cookies for another delightful treat. What makes this retro cake recipe special is its adaptability; you can easily customize it with different extracts, frostings, or toppings to suit your preferences. Its straightforward approach makes it perfect for both novice and experienced bakers. The result is an old-fashioned cake recipe that’s both easy to make and utterly delicious, making it a standout choice for any occasion.
4. Ingredients Needed
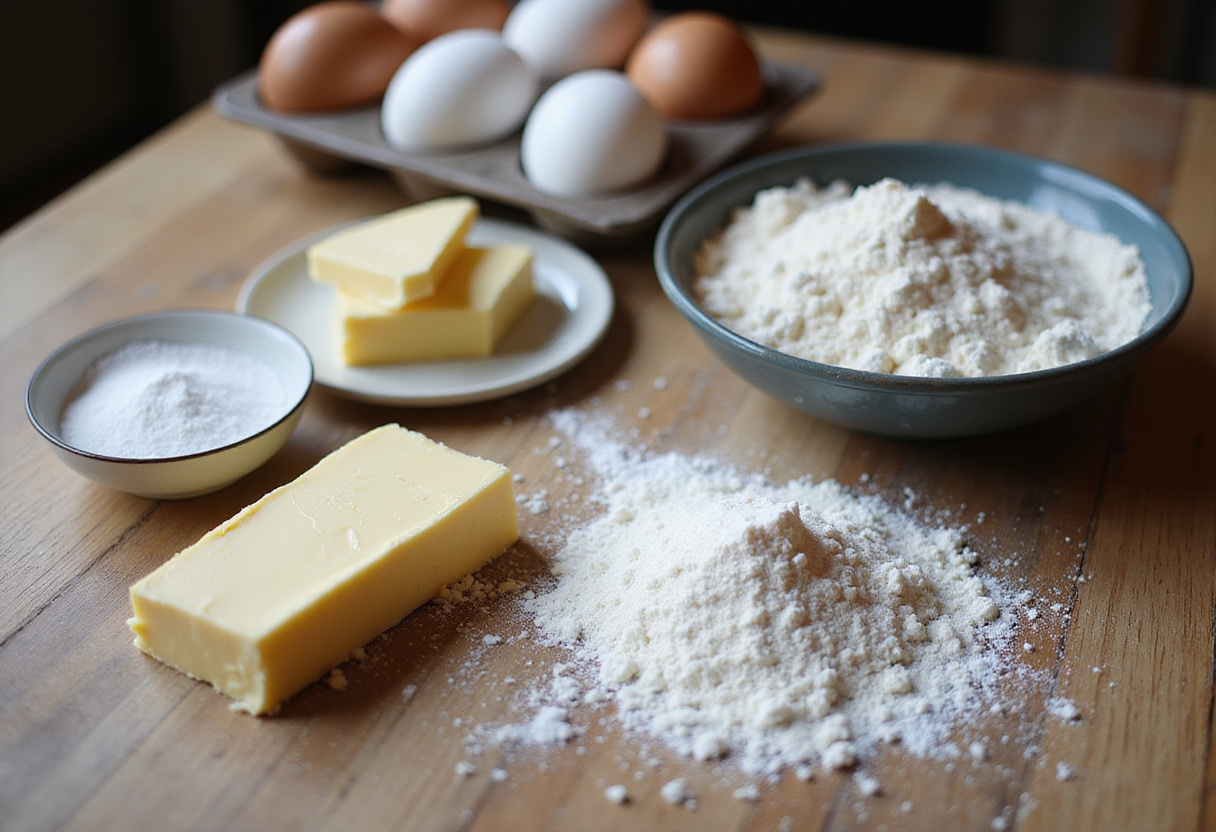
To create this delightful vintage cake recipe, you’ll need the following ingredients:
All-purpose flour: 3 cups
Granulated sugar: 2 cups
Unsalted butter, softened: 1 cup (2 sticks)
Eggs: 3 large
Milk: 1 cup
Baking powder: 3 teaspoons
Vanilla extract: 1 teaspoon
Salt: 1/2 teaspoon
These simple ingredients combine to create a truly memorable classic cake recipe. Ensuring the butter is properly softened will result in a smoother batter, and using high-quality vanilla extract will enhance the overall flavor of this retro cake recipe. Planning a Christmas celebration? You might enjoy our Christmas Eve Cinnamon Vanilla Creamy Custard Pie as well! With these easily accessible ingredients, you’re well on your way to baking an incredible old-fashioned cake recipe.
5. Step-by-Step Instructions
Step 1: Prepare the Ingredients
Begin by preheating your oven to 350°F (175°C). Grease and flour a 9×13 inch baking pan. In a large bowl, measure out your flour, sugar, baking powder, and salt. Ensure your butter is softened to room temperature for easy creaming. Having all your ingredients prepped will make the baking process smoother and more enjoyable for this vintage cake recipe.
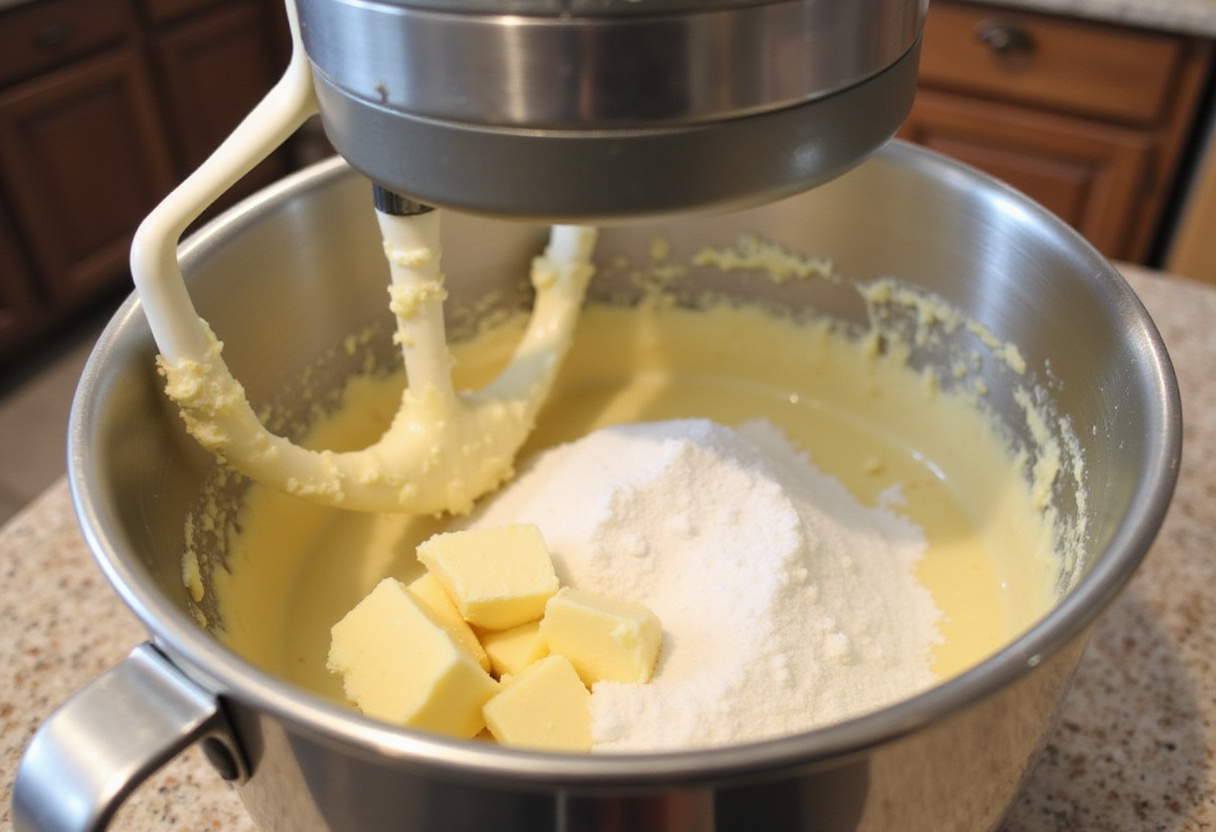
Step 2: Cream Butter and Sugar
In a large mixing bowl, cream together the softened butter and sugar until light and fluffy. This step is crucial for achieving a tender crumb in your retro cake recipe. Use an electric mixer for best results, and scrape down the sides of the bowl periodically to ensure even mixing. This process incorporates air into the batter, which helps the cake rise properly. Discover more baking tips and tricks in our baking category. Proper creaming is a hallmark of a well-executed classic cake recipe.
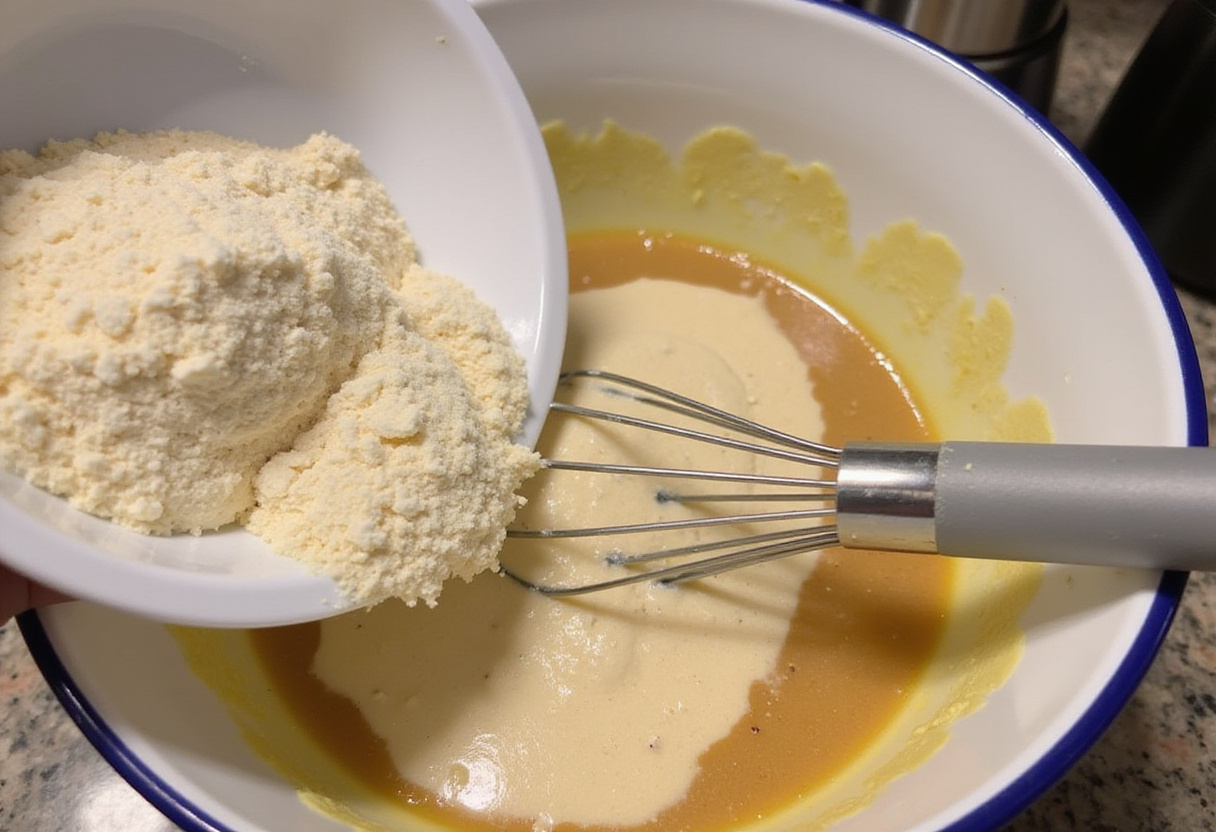
Step 3: Combine Wet and Dry Ingredients
Gradually add the dry ingredients to the creamed butter and sugar, alternating with the milk. Begin and end with the dry ingredients to prevent the batter from separating. Mix until just combined; be careful not to overmix, as this can result in a tough cake. Stir in the vanilla extract. This step ensures that the vintage cake recipe maintains its delicate texture and delightful flavor. If you are looking for more delicious recipes, you might like ritz cracker chicken. This method is fundamental to many old-fashioned cake recipes.
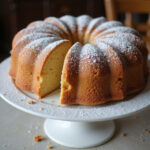
Step 4: Bake the Cake
Pour the batter into the prepared baking pan and spread evenly. Bake for 30-35 minutes, or until a wooden skewer inserted into the center comes out clean. Let the cake cool in the pan for 10 minutes before inverting it onto a wire rack to cool completely. This ensures that the retro cake recipe bakes evenly and releases easily from the pan. Allowing the cake to cool properly prevents it from crumbling. Embrace the simplicity of this classic cake recipe and enjoy the delightful results.
6. Tips for the Perfect Vintage Cake
To ensure your vintage cake recipe turns out perfectly, consider these tips:
Use room temperature ingredients: This helps the batter emulsify properly, resulting in a smoother texture.
Don’t overmix the batter: Overmixing can develop the gluten in the flour, leading to a tough cake.
Check for doneness: Use a wooden skewer to test for doneness. If it comes out clean, the cake is ready.
Cool completely: Allow the cake to cool completely before frosting to prevent the frosting from melting.
Following these tips will help you create a classic cake recipe that is moist, tender, and delicious every time. If you are interested in other morning treat, you might like these breakfast recipes. These techniques are often used in traditional old-fashioned cake recipes to achieve consistent results.
7. Variations and Add-ons
One of the great things about this vintage cake recipe is its versatility. Here are a few variations and add-ons to try:
Lemon zest: Add lemon zest to the batter for a bright, citrusy flavor.
Chocolate chips: Fold in chocolate chips for a chocolatey twist.
Nuts: Add chopped nuts for added texture and flavor.
Frosting: Top with your favorite frosting, such as vanilla buttercream or chocolate ganache.
Experimenting with these variations can elevate your retro cake recipe and make it your own. For more vintage inspiration, resources may be found at TheVintageCake.com. Whether you prefer a simple glaze or an elaborate frosting, the possibilities are endless with this old-fashioned cake recipe.
8. Serving Suggestions
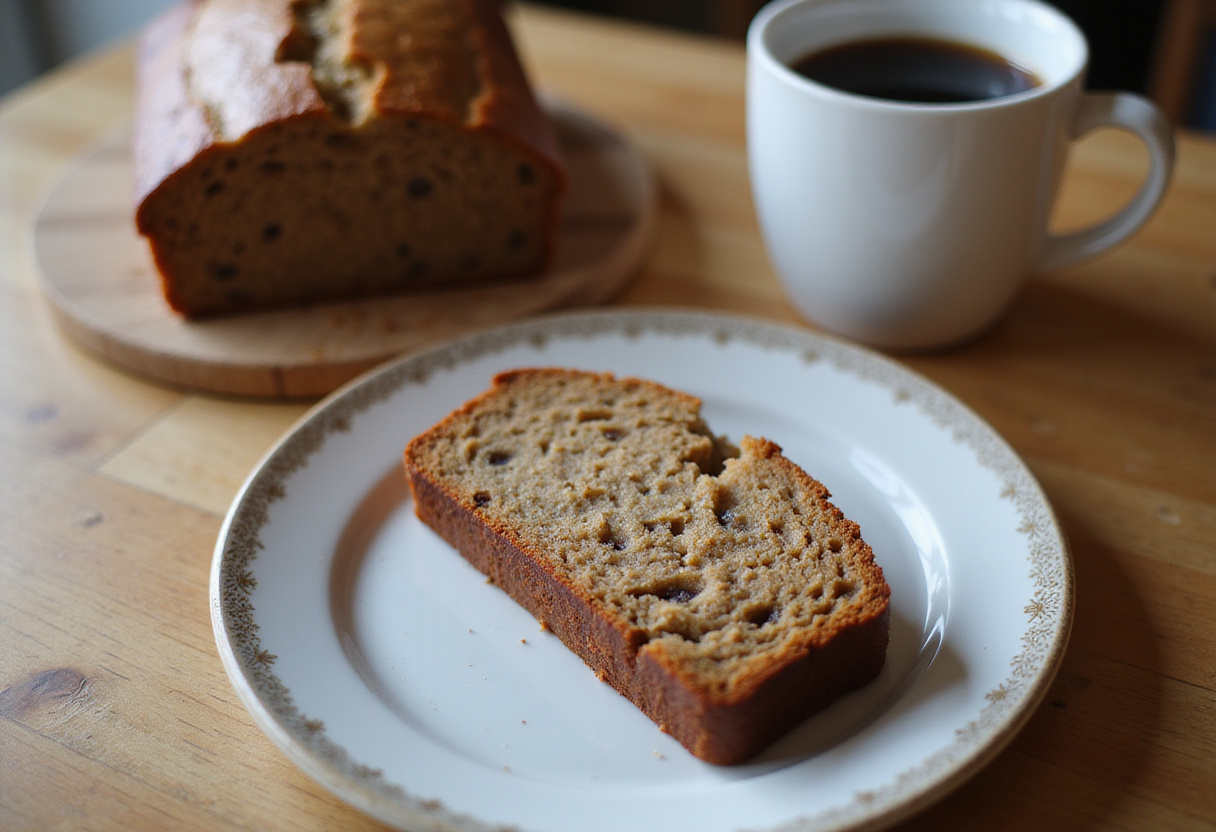
This vintage cake recipe is perfect for any occasion, from casual gatherings to special celebrations. Serve it with a dollop of whipped cream, a scoop of ice cream, or a dusting of powdered sugar. It pairs well with coffee, tea, or a glass of milk. For an extra touch, add fresh berries or a drizzle of chocolate sauce. If you are looking for side dish ideas, you might like honey roasted carrots. No matter how you serve it, this classic cake recipe is sure to be a hit. Its timeless appeal makes it a welcome addition to any dessert table, bringing a touch of nostalgia and comfort to every bite.
9. Conclusion
Baking a vintage cake recipe is like taking a trip down memory lane. This classic cake recipe offers a simple yet satisfying way to create a delicious and comforting dessert. If strawberry is your preference, you might enjoy these strawberry cheesecake rolls!. By following the step-by-step instructions and incorporating the helpful tips, you can easily recreate this timeless treat in your own kitchen. Whether you stick to the original recipe or experiment with variations, this retro cake recipe is sure to become a cherished favorite. So, gather your ingredients, preheat your oven, and get ready to bake a old-fashioned cake recipe that will delight your senses and warm your heart.
Indulge in the comforting flavors of yesteryear with this vintage cake recipe. A timeless classic, this old-fashioned cake boasts a tender crumb and delightful sweetness, perfect for any occasion. Easy to customize with your favorite frostings and flavors, it’s a retro treat that will evoke cherished memories.
Ingredients
All-purpose flour: 3 cups
Granulated sugar: 2 cups
Unsalted butter, softened: 1 cup (2 sticks)
Eggs: 3 large
Milk: 1 cup
Baking powder: 3 teaspoons
Vanilla extract: 1 teaspoon
Salt: 1/2 teaspoon
Instructions
Preheat oven to 350°F (175°C). Grease and flour a 9×13 inch baking pan.
In a large bowl, measure out flour, sugar, baking powder, and salt.
In a separate large mixing bowl, cream together the softened butter and sugar until light and fluffy.
Add eggs one at a time, mixing well after each addition.
Gradually add the dry ingredients to the creamed mixture, alternating with the milk, beginning and ending with the dry ingredients. Mix until just combined.
Stir in the vanilla extract.
Pour the batter into the prepared baking pan and spread evenly.
Bake for 30-35 minutes, or until a wooden skewer inserted into the center comes out clean.
Let the cake cool in the pan for 10 minutes before inverting it onto a wire rack to cool completely.
Frost with your favorite frosting or dust with powdered sugar before serving.
Notes
For best results, use room temperature ingredients to ensure proper emulsification.
Avoid overmixing the batter to prevent a tough cake.
Check for doneness by inserting a wooden skewer into the center; it should come out clean.
Let the cake cool completely before frosting to prevent melting.
Variations: Add lemon zest, chocolate chips, or chopped nuts to the batter for a customized flavor.
Prep Time:20 minutes
Cook Time:35 minutes
Category:Dessert
Method:Baking
Cuisine:American
Nutrition
Serving Size:1 slice
Calories:350 Kcal
Sugar:30g
Sodium:150mg
Fat:15g
Saturated Fat:9g
Unsaturated Fat:5g
Trans Fat:0g
Carbohydrates:50g
Fiber:1g
Protein:4g
Cholesterol:75mg
Sharing is caring!
Facebook
Twitter
Linkedin
Pinterest
Hi There!
Welcome to RecipesAlways.com! I’m Chef Megan, and I’m so excited to have you here as we embark on this flavorful journey together.